
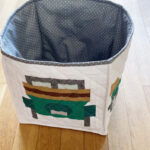


Der Fahrzeug Quilt bekommt eine Erweiterung! Es wird Straßen-Blöcke geben, die Du nach Lust und Laune in Deinen Fahrzeug Quilt einbauen kannst. Gerade Straße, Kurven, Kreuzung… Kennst Du noch die lustigen Autoteppiche, auf denen man als Kind stundenlang mit Spielzeugautos umhergefahren ist? Genau das kannst Du jetzt in Kombination mit den Fahrzeugblöcken selber zusammenbauen /-nähen.
The vehicle quilt gets an extension! There will be road blocks that you can add to your vehicle quilt as you please. Remember those fun car rugs you used to drive toy cars around on for hours as a kid? That’s exactly what you can now assemble / sew yourself in combination with the vehicle blocks.
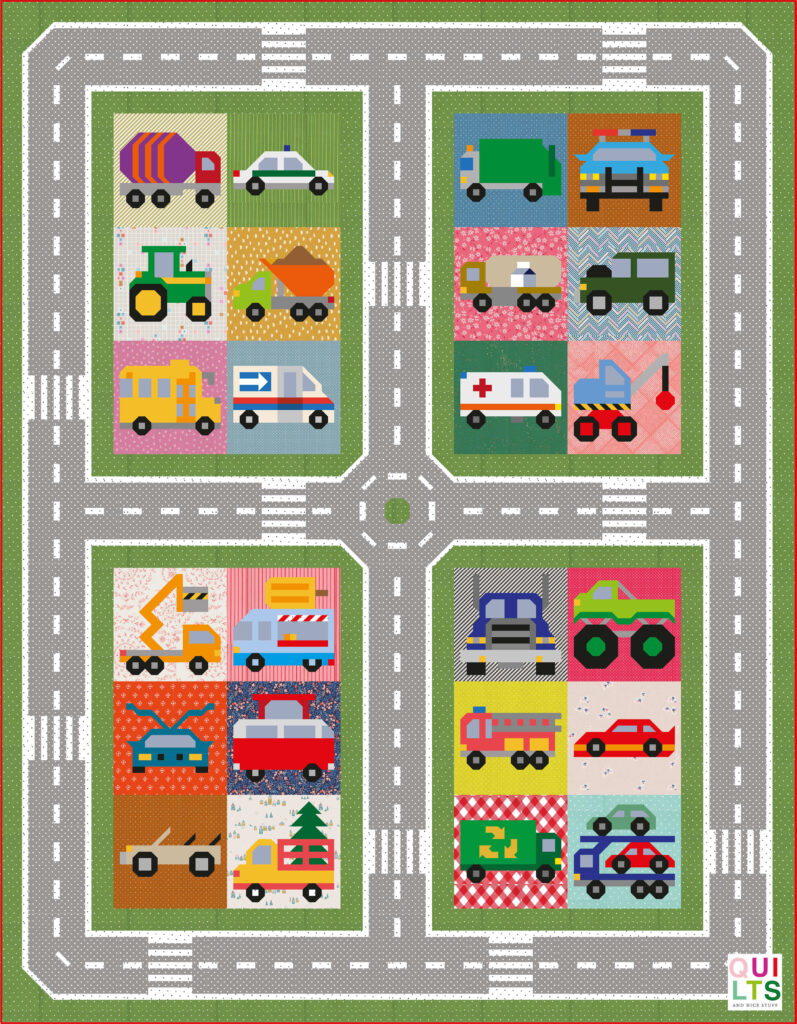
Auch kannst Du einen Quilt ganz aus Straßen-Blöcke oder das Backing Deines Fahrzeug Quilts nähen, dann hast Du auf der Vorderseite alle Lieblingsfahrzeuge und die Rückseite eignet sich toll zum Spielen.
Also, you can sew a quilt entirely of road blocks or the backing of your vehicle quilt, then you have all your favorite vehicles on the front and the back is great for play.

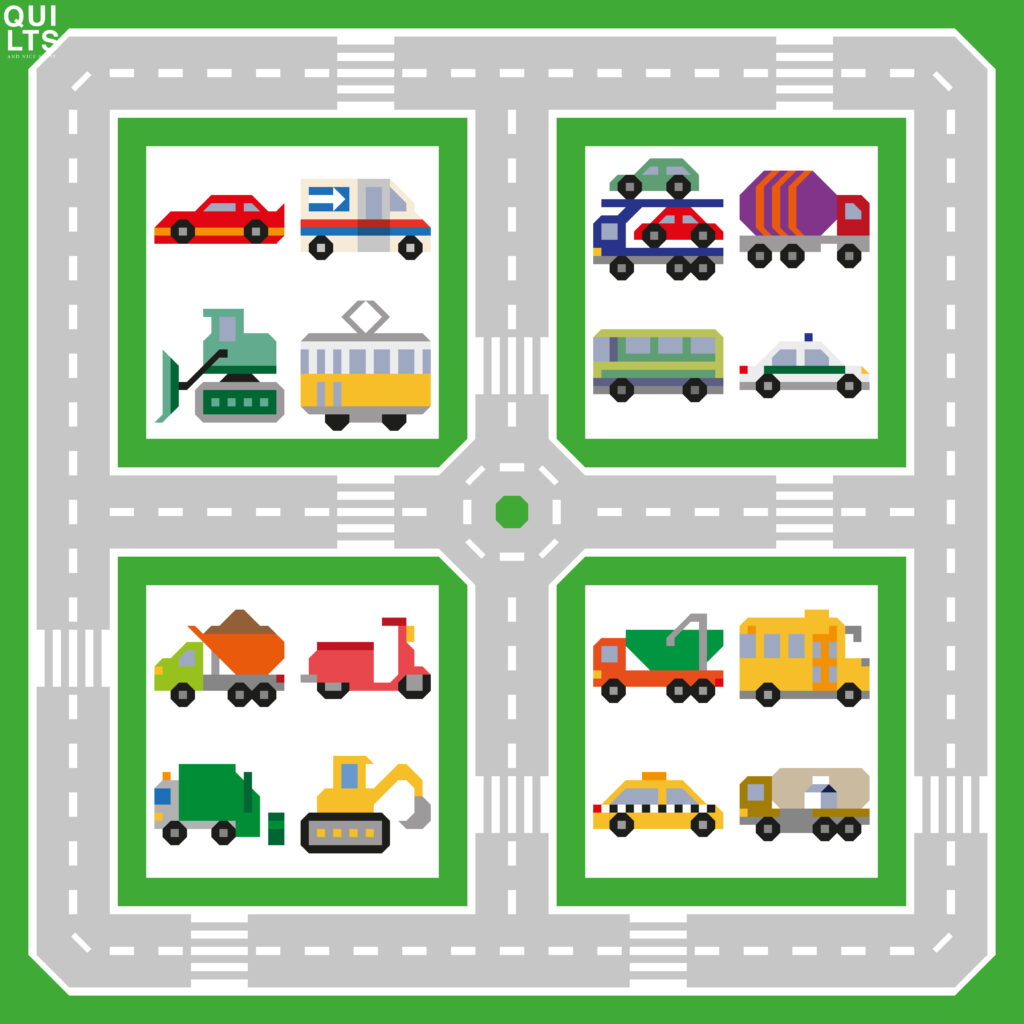
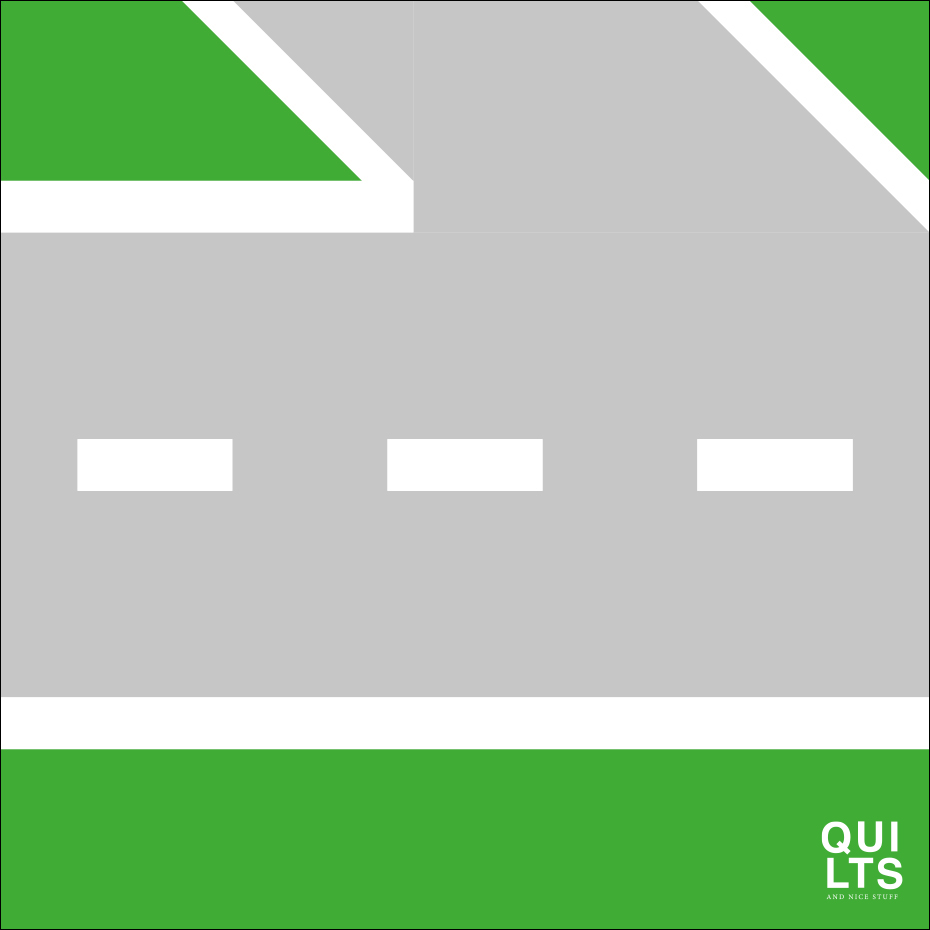
Es wird 12 Straßenblöcke geben, zu denen ich hier nach und nach die Nähanleitungen online stelle. Folgend siehst Du die verschiedenen Straßen-Blöcke. Den Anfang macht erstmal die „Gerade Strasse“, die wahrscheinlich am häufigsten verbaut wird.
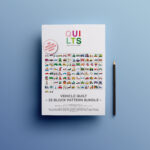
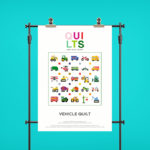
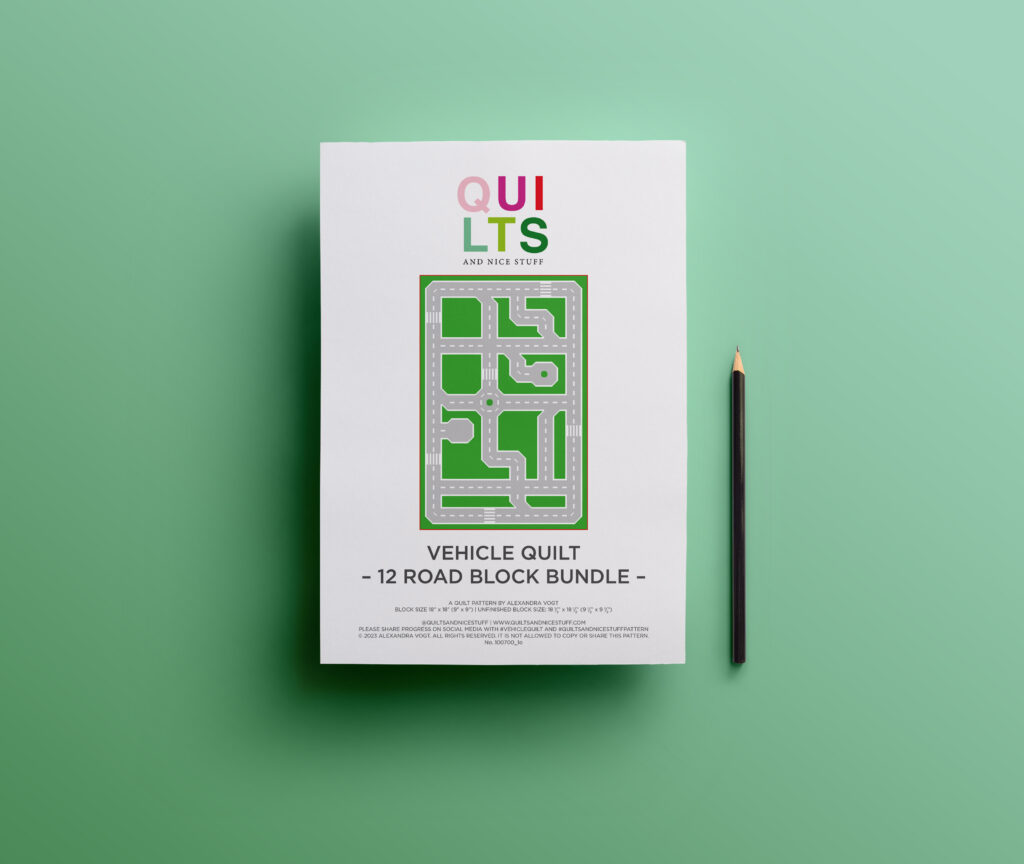
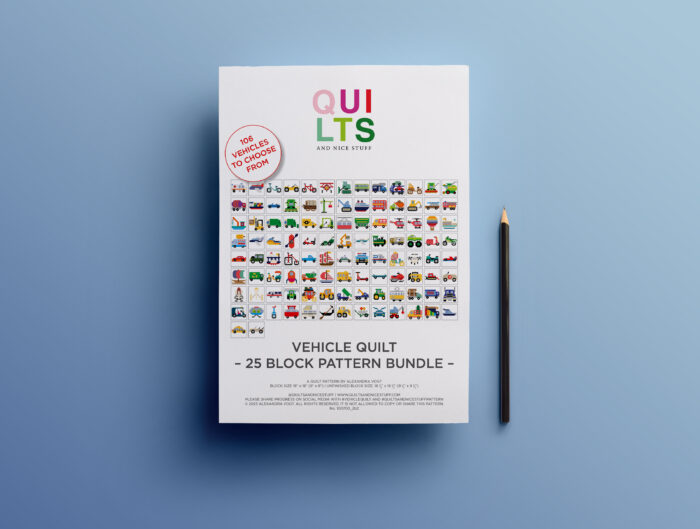
Wenn alle Straßen-Blöcke veröffentlicht sind, werde ich zusätzlich ein Block Pattern Bundle mit PDFs in meinem Etsy Shop anbieten. Das Bundle wird dann zwar etwas kosten, aber dafür hast Du dann alle Anleitungen in übersichtlichen PDFs zum Download und Drucken. Den Link findest Du dann hier.
There will be 12 street blocks, for which I will gradually put the sewing instructions online here. Below you can see the different road blocks. The first one is the „Straight Road“, which is probably the most common one.
When all road blocks are published, I will also offer a block pattern bundle with PDFs in my Etsy Shop. The bundle will cost a little, but you will have all the patterns in clear PDFs to download and print. You will then find the link here.
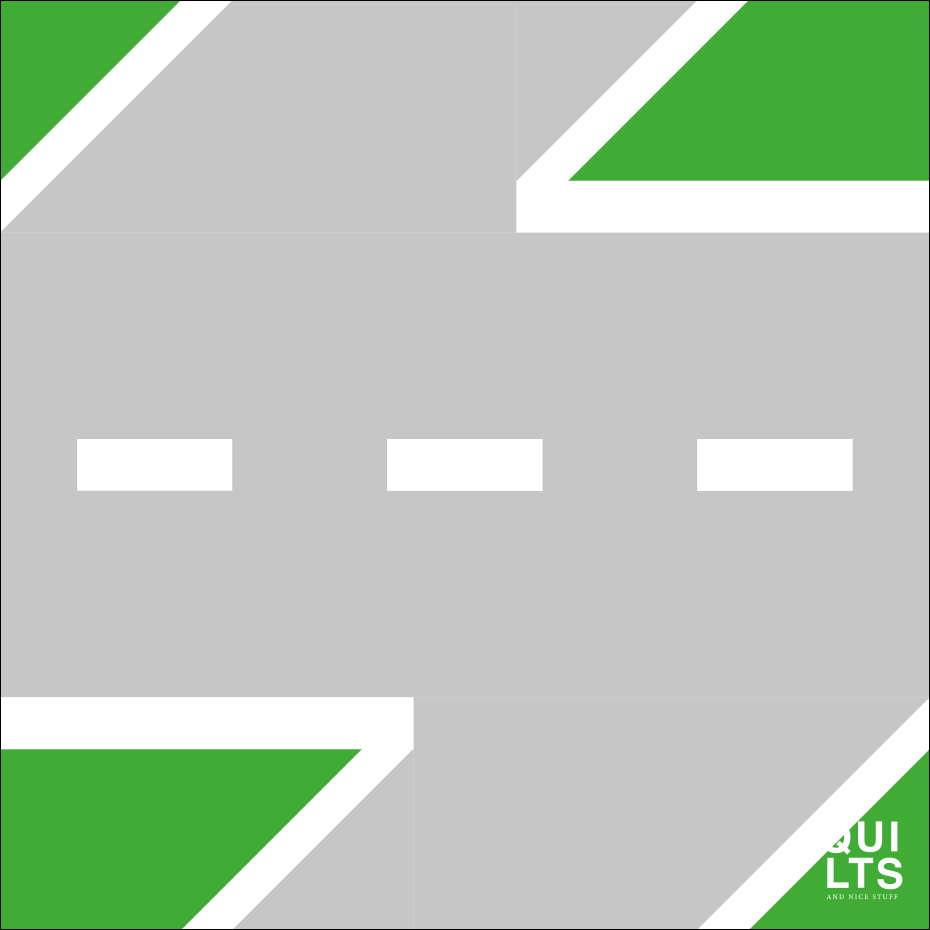
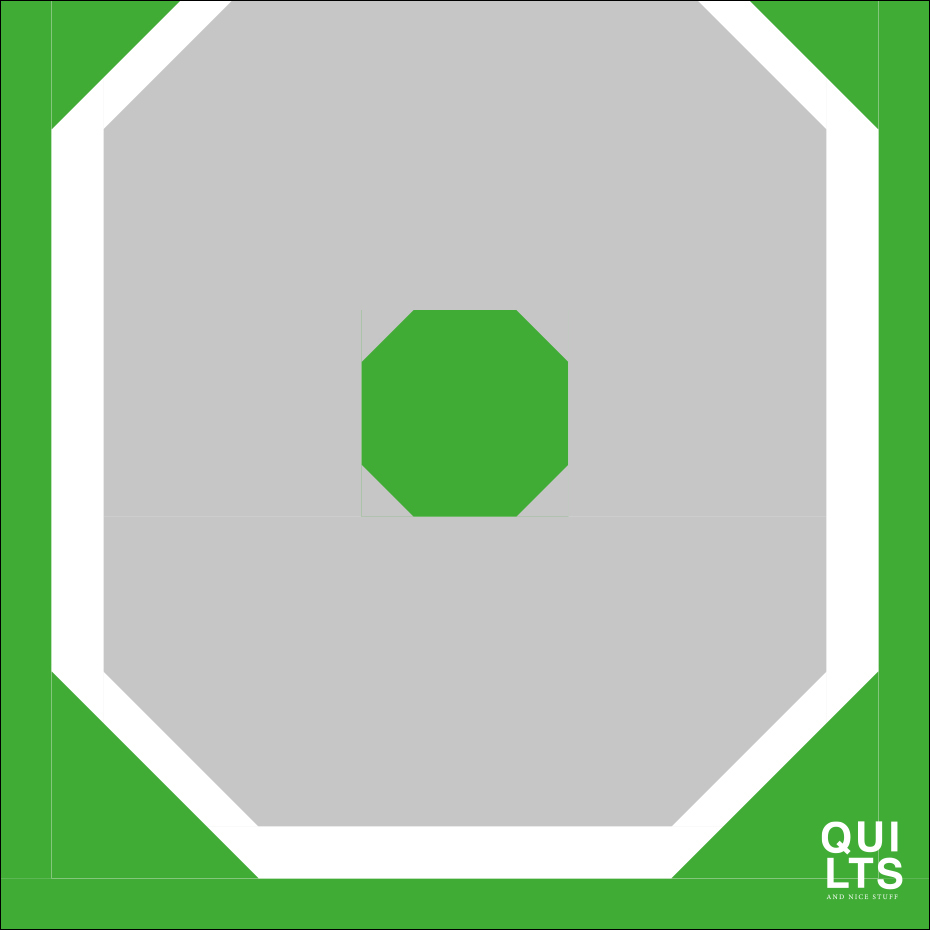
Alle Straßen-Blöcke


Wenn Dir das zu kompliziert ist und du die Anleitungen gerne als ausdruckbare PDF Anleitungen gesammelt in einem Anleitungspaket haben möchtest, findest dieses in meinem Etsy Shop. Das kostet zwar etwas, aber du hast alles für den Straßenquilt gleich griffbereit zum Ausdruck bereit.
If that’s too complicated for you and you’d like to have the instructions collected as printable PDF patterns in a bundle, you’ll find it in my Etsy shop. It will cost you a little, but you will have everything you need for your street quilt ready to print.
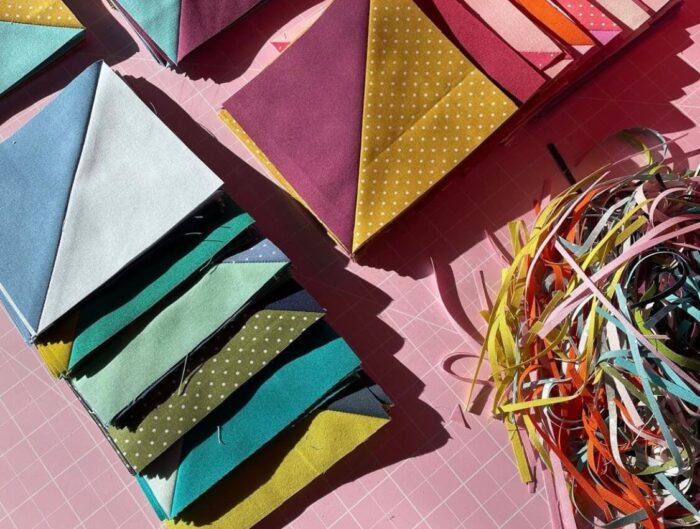
Sobald Du Dir über das Straßen-Layout im Klaren bist, soll es mit dem Nähen losgehen. Bei der Stoffauswahl hast Du alle Freiheiten. Ich habe für das Grau der Straße und das Weiß der Fahrbahnmarkierung immer die gleichen Stoffe gewählt. Beim Grün für die Umrandung / Wiese habe ich aber verschiedene Grüntöne verwendet, da ja auch die Straßen-Umgebung viele verschiedene Grüntöne zeigt.
Die Schritt für Schritt Anleitung zeige ich mit Unistoffe, damit alles sehr deutlich ist. Aber verwende gerne viele Deiner Scrapstoffe – auch das echte Leben ist vielfältig.
Once you have decided on the road layout, you can start sewing. You have every freedom when it comes to choosing the fabric. I always chose the same fabrics for the grey of the road and the white of the lane markings. For the green for the border / meadow, however, I used different shades of green, because the road environment also shows many different shades of green.
I show the step by step instructions with solid fabrics so that everything is very clear. But feel free to use many of your scrap fabrics – real life is also diverse.
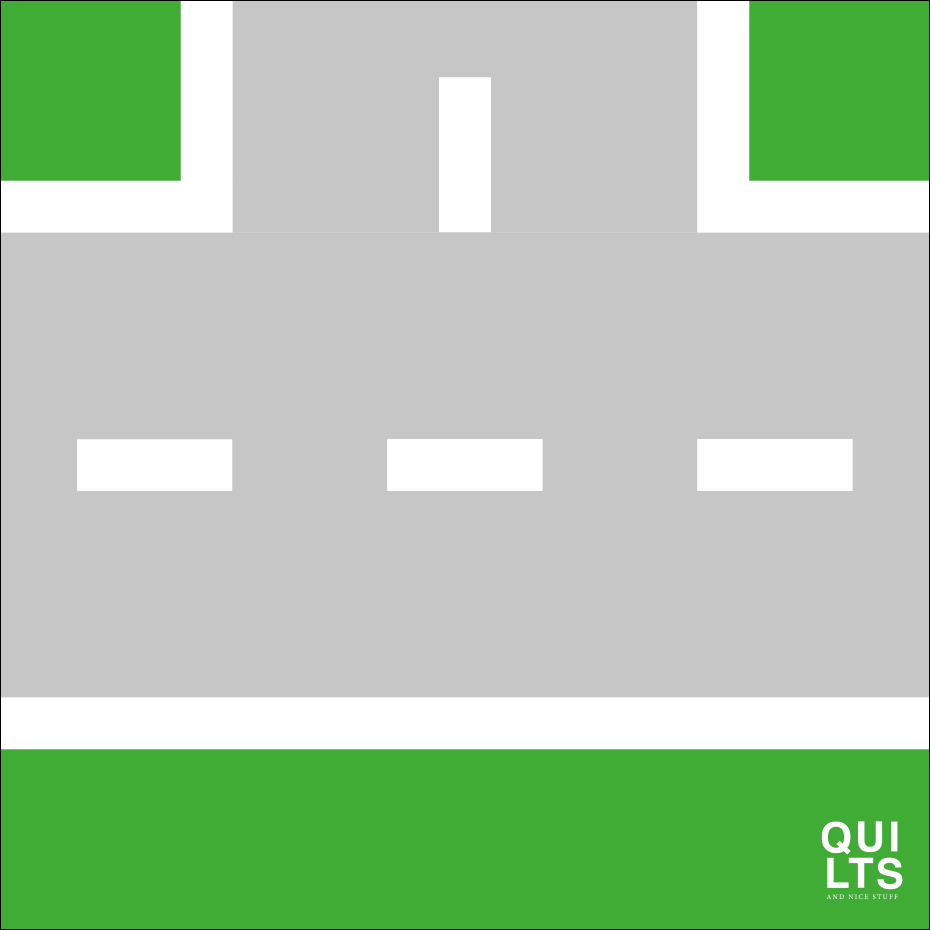
Zuschnitt Gerade Straße / Cutting Straight Road
Zuerst geht es an den Zuschnitt. Wenn Du meine Anleitungen schon kennst, weiß Du vielleicht, daß ich versuche, die Stoffteile immer in ganzen inch und halben inch zu designen. Manchmal geht das aber nicht, gerade wenn es sich um symmetrische Blöcke handelt. In diesem Fall markiere ich, wie auch in meinem PDF Anleitungen, die 1/4” und 3/4” Stoffteile mit bold Schrift, damit der Zuschnitt leichter wird.
Und noch ein Tipp: Am besten ist es, sich die vielen Teile mit Buchstaben Labels zu markieren, damit man beim Zusamennähene nicht durcheinander gerät.
First, it’s time for the cutting. If you already know my patterns, you may know that I always try to design the fabric pieces in whole inches and half inches. But sometimes that doesn’t work, especially when it comes to symmetrical blocks. In that case, as in my PDF patterns, I mark the 1/4″ and 3/4″ fabric pieces with bold lettering to make cutting easier.
Another tip: It’s best to mark your many pieces with letter labels so you don’t get confused when sewing them together.
Fabric Diagramm
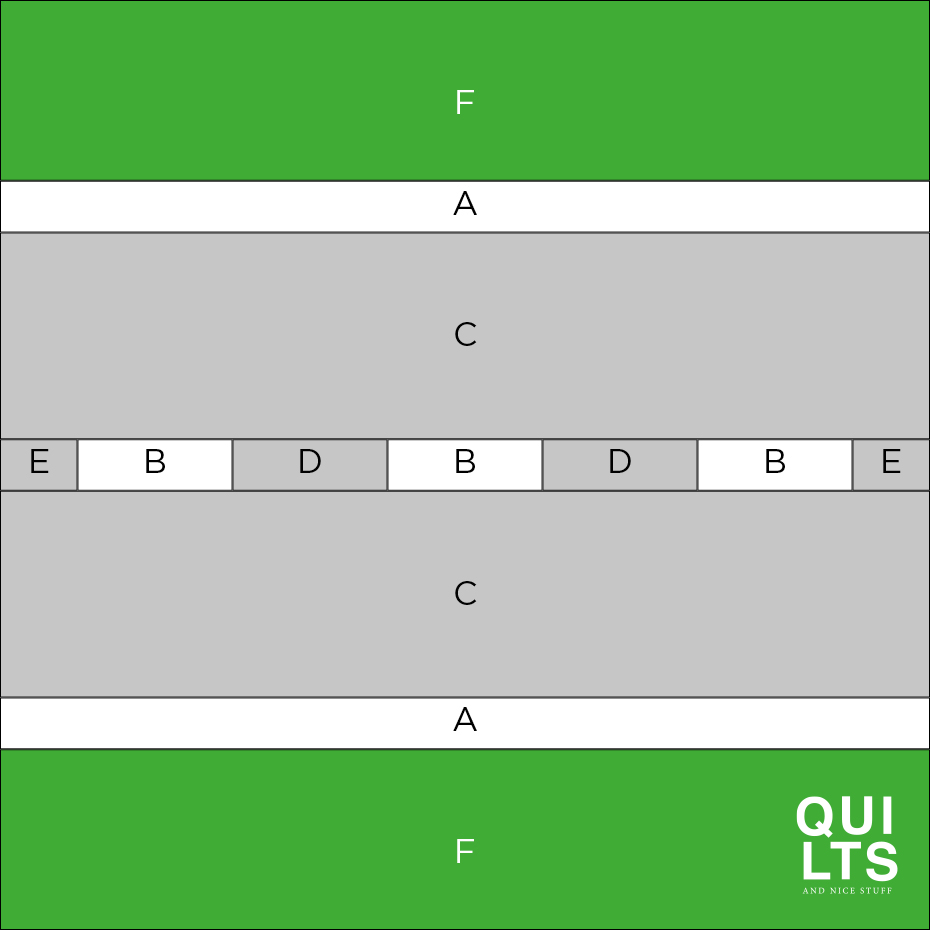
18 inch Block
White Fabric:
- A (2) 18 1/2” x 1 1/2”
- B (3) 3 1/2” x 1 1/2”
Grey Fabric:
- C (2) 18 1/2” x 4 1/2”
- D (2) 3 1/2” x 1 1/2”
- E (2) 2” x 1 1/2”
Green Fabric:
F (2) 18 1/2” x 4”
9 inch Block
White Fabric:
- A (2) 9 1/2” x 1”
- B (3) 2” x 1”
Grey Fabric:
- C (2) 9 1/2” x 2 1/2”
- D (2) 2” x 1”
- E (2) 1 1/4” x 1”
Green Fabric:
- F (2) 9 1/2” x 2 1/4”
Schritt für Schritt Anleitung / Step by step instruction
Für den Straßen-Block näh die Schritte nacheinander so wie es auf den Bildern zu sehen ist. Die Maßangaben unter der Beschreibung sagt Dir die Größe des jeweiligen Teilstücks in 18 inch und in der Klammer in 9 inch.
For the street block, follow the steps one after the other as shown in the pictures. The measurements below the description tells you the size of each piece in 18 inches and in the bracket in 9 inches.
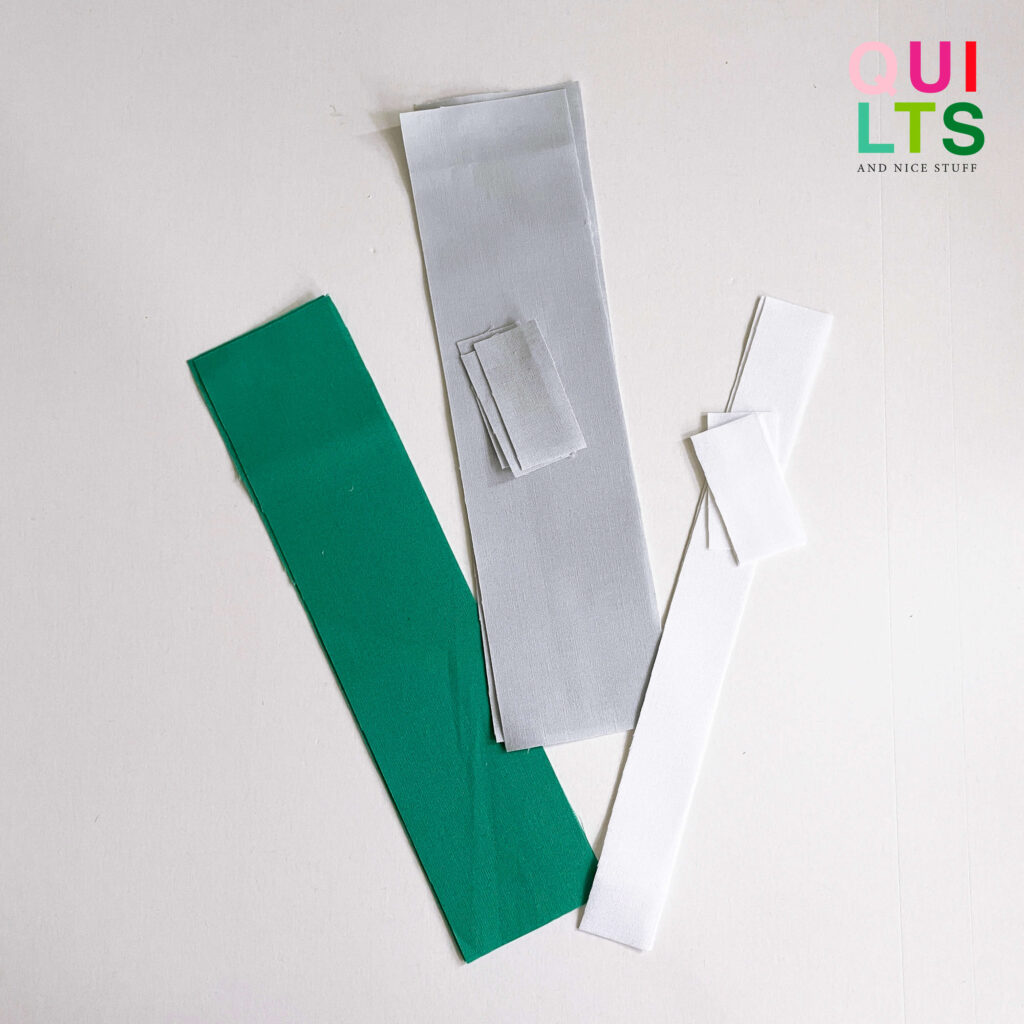
Cutting is made, your pieces are marked with the respective letters. Then you can start.

18 1/2” x 1 1/2” (9 1/2” x 1”)
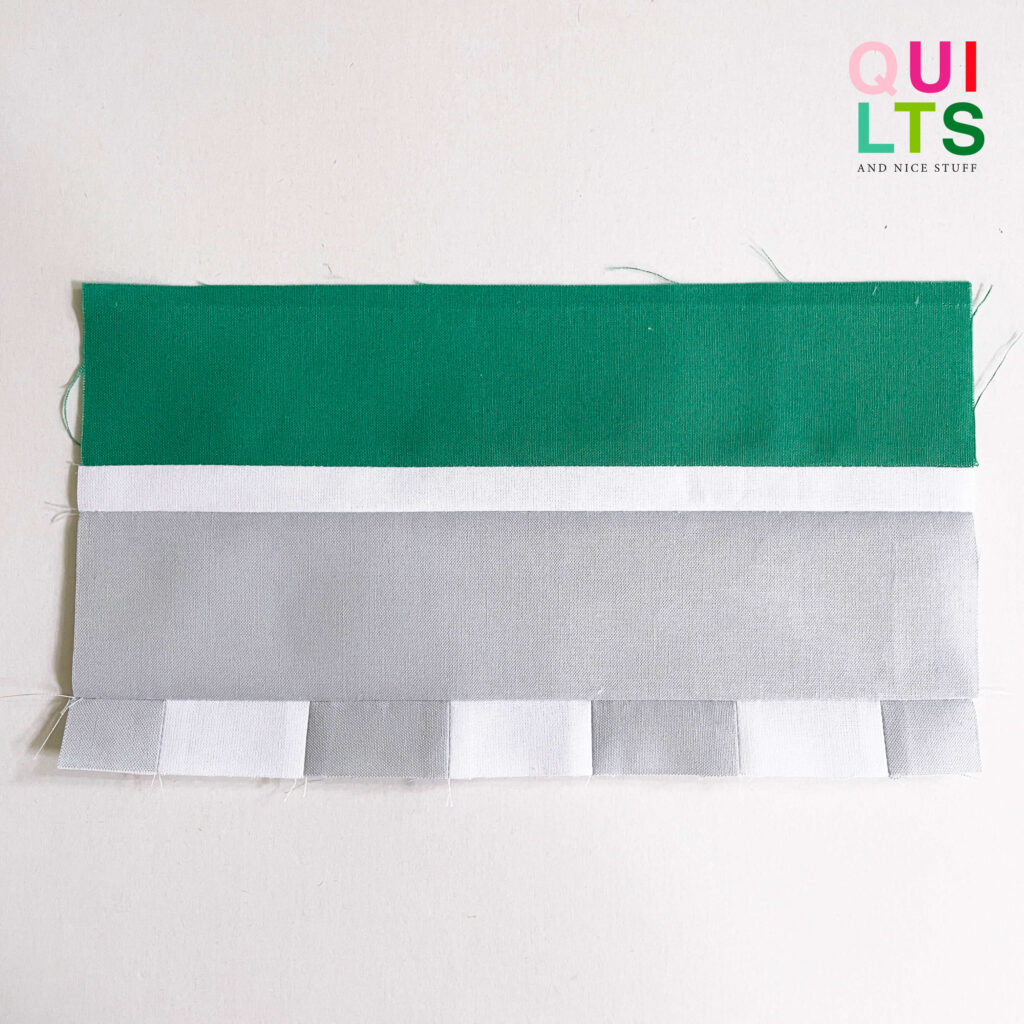
Sew pieces E-B-D-B-D-B-E together. Press seams open.
18 1/2” x 1 1/2” (9 1/2” x 1”)
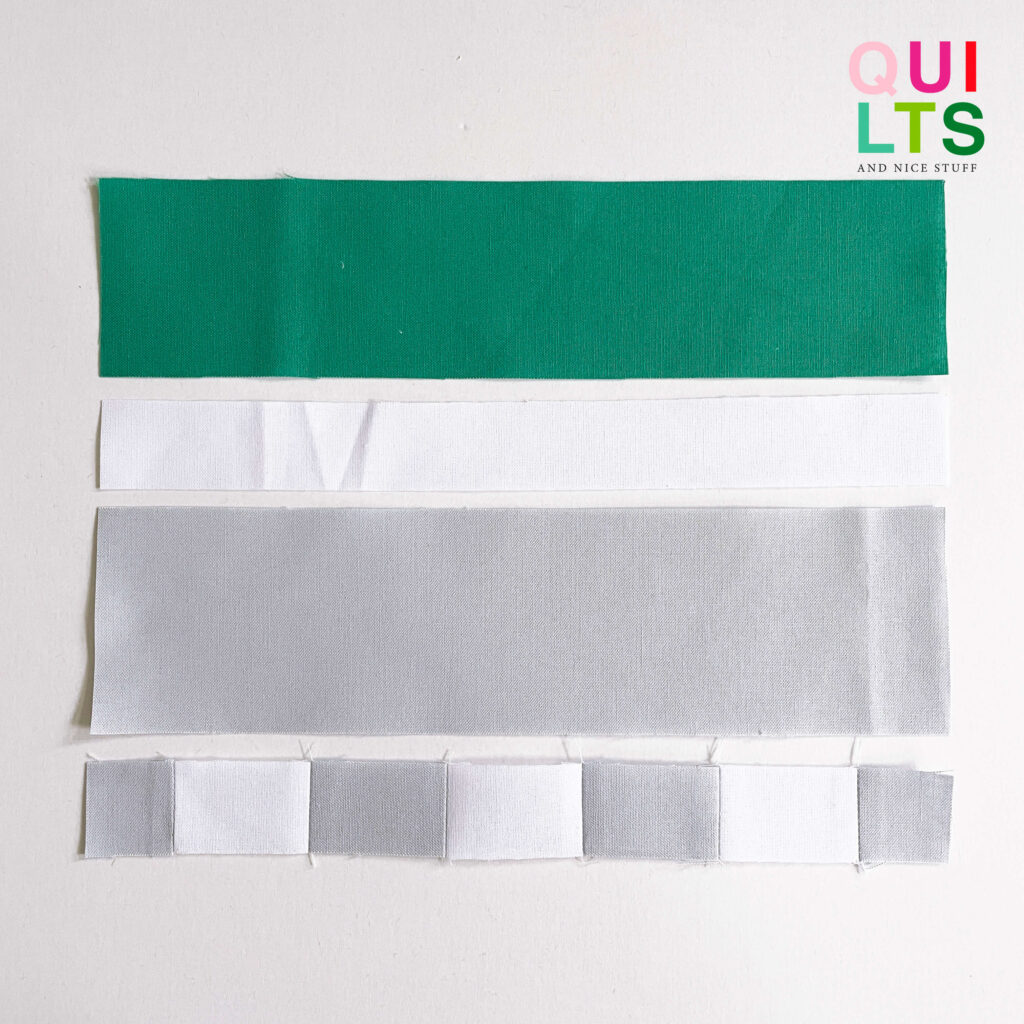
Sew pieces F-A-C to the road marking. Press seams open.
18 1/2” x 10” (9 1/2” x 5 1/4”)
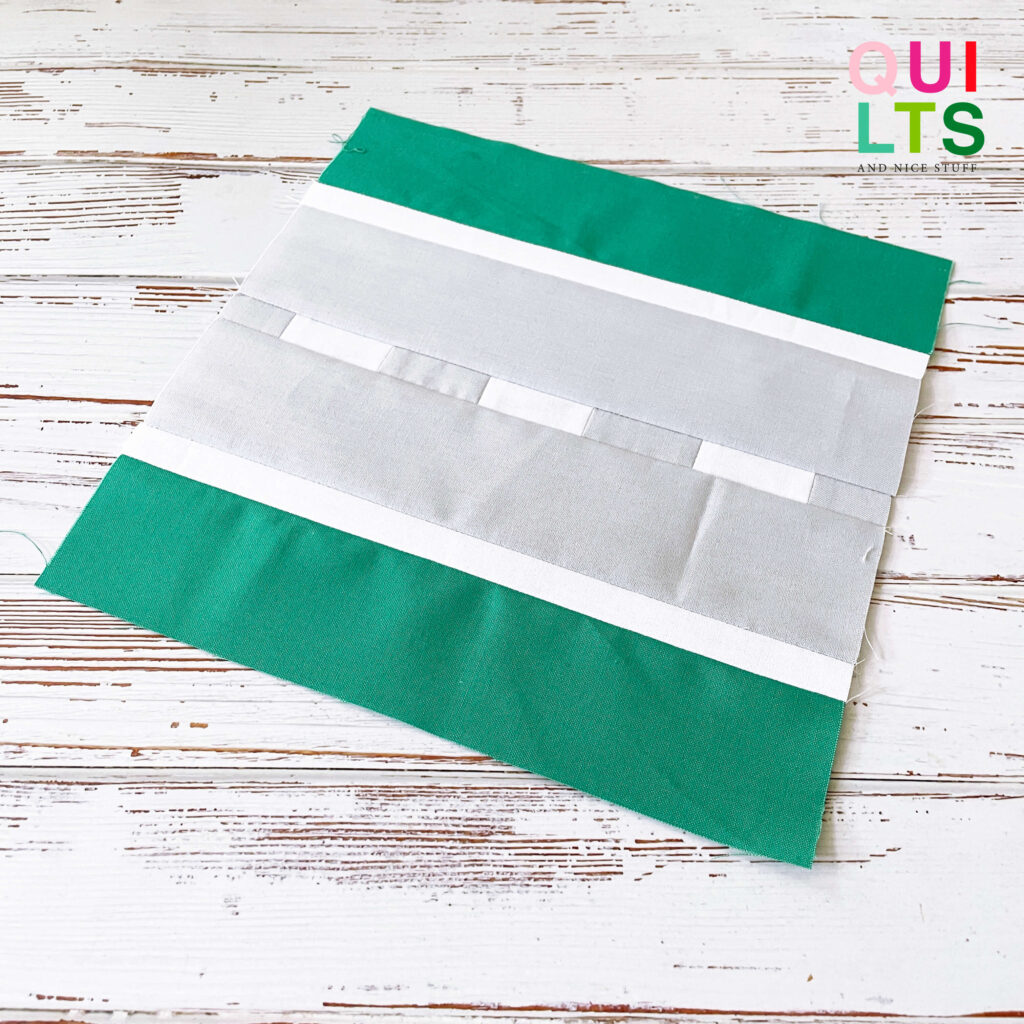
It should look like this.
18 1/2” x 10” (9 1/2” x 5 1/4”)
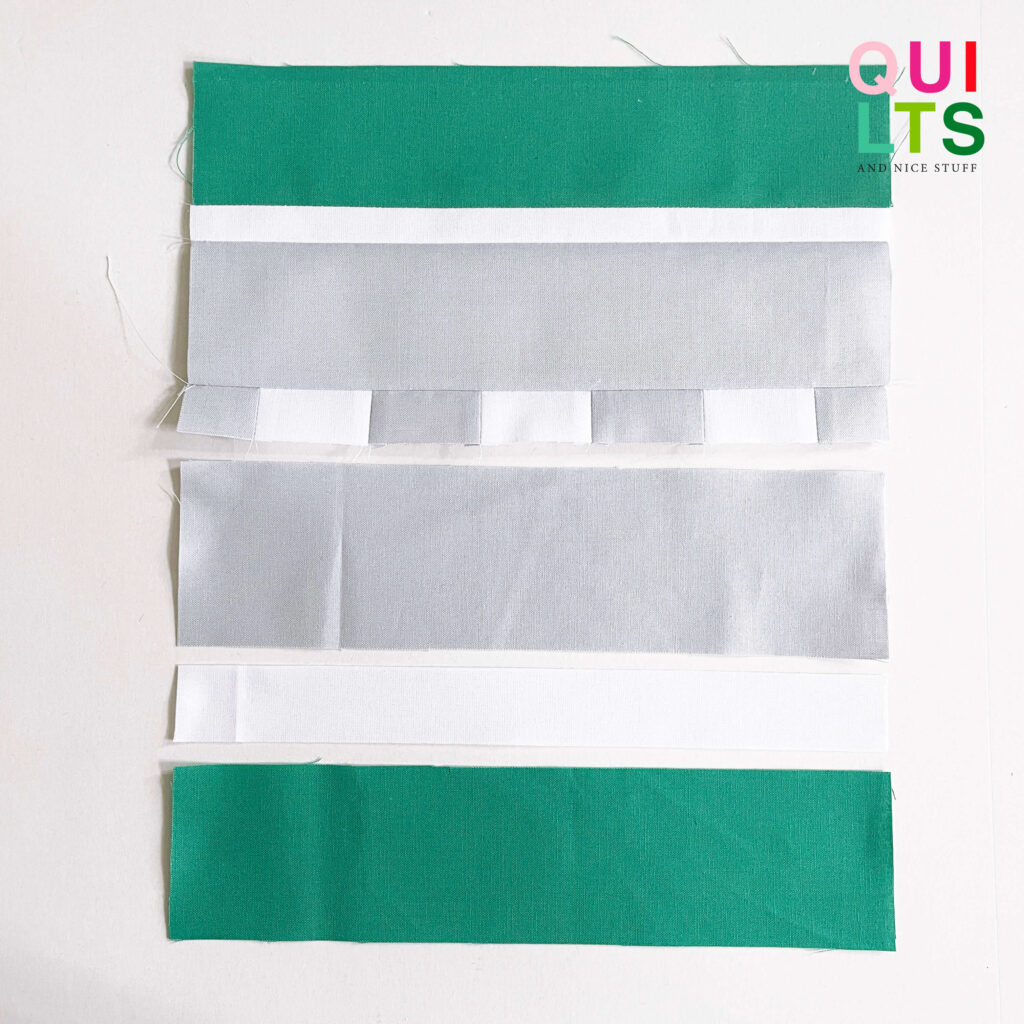
Then sew on the pieces C-A-F. Press seams open.
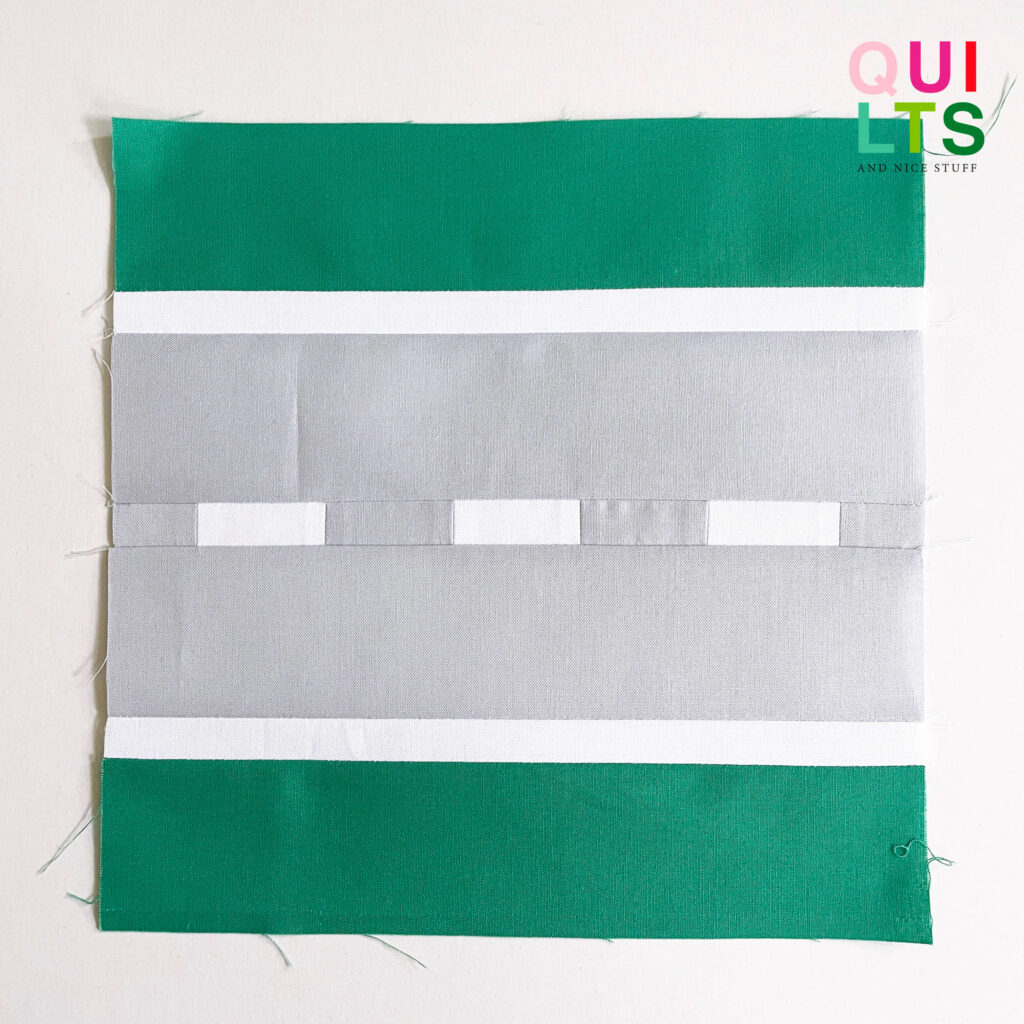
18 1/2” x 18 1/2” (9 1/2” x 9 1/2”)
Finished is the „straight road.
18 1/2” x 18 1/2” (9 1/2” x 9 1/2”)

Das war für den Anfang der einfachste Block. Aber auch die anderen 11 Blöcke sind im Handumdrehen genäht und dann kann es ans Zusammensetzen Deines Straßenplans gehen. Gibt es viele Kreuzungen bei Dir? Viele Abbieger oder Sackgassen? Ich bin gespannt.
Wenn es Fragen zu den Anleitungen gibt, kannst Du mir gerne unten in die Kommentare schreiben. Auch, wenn Dir noch ein ganz wichtiger Straßen-Block fehlt, an den ich noch gar nicht gedacht habe.
Jetzt aber viel Spaß mit den Straßen-Blöcken!
This was the easiest block to start with. But also the other 11 blocks are sewn in no time and then it can go to the assembly of your raodmap. Are there many intersections? Many turns or dead ends? I am curious.
If there are any questions about the instructions, feel free to write me in the comments below. Also, if you are missing a very important road block that I haven’t thought of yet.
But now have fun with the road blocks!
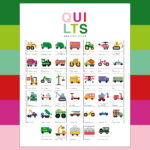
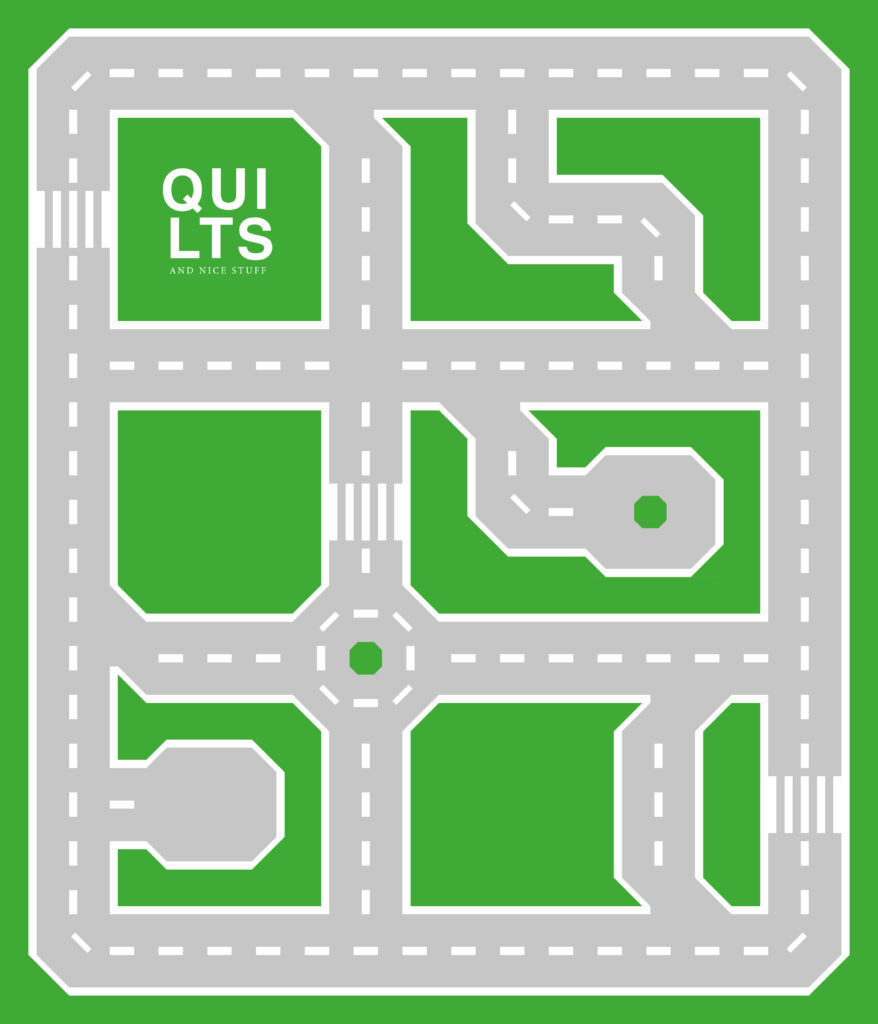
Straßen-Block Anleitungen / Road Block Pattern:
Gerade Strasse / Straight Road
Kurve / Curve
T-Kreuzung / T-Section
Sackgasse / Dead End
2 Ausfahrten / 2 Road Exit Ramps
Einfahrt / Road Entrance Ramp
Zebrastreifen / Crosswalk
Kreisverkehr / Roundabout
2 Einfahrten / 2 Road Entrance Ramps
Kreuzung / Intersection
Ausfahrt / Road Exit Ramp
Sackgasse mit grüner Insel / Dead End with Green
You might also like
Leave A Reply