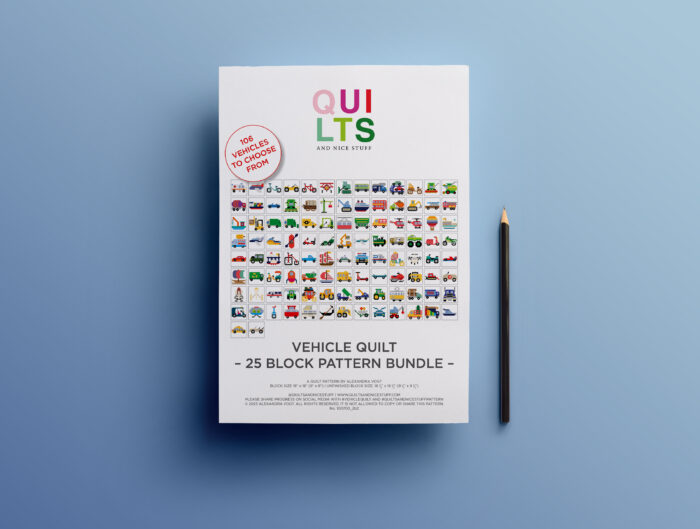


Herzlich willkommen zurück auf meiner Nähseite! Heute möchte ich dir ein aufregendes Nähprojekt vorstellen, das nicht nur praktisch ist, sondern auch jede Menge Spaß macht. Wir werden gemeinsam einen entzückenden Stoffkorb aus nur fünf Quadraten herstellen. Aber das ist noch nicht alles – wir werden die Classic Car Blöcke verwenden, um diesem Korb eine besondere Note zu verleihen, die ihn perfekt für die Aufbewahrung von Spielzeugautos macht.
In diesem Beitrag werde ich dich Schritt für Schritt durch den Prozess führen, begleitet von zahlreichen Bildern, um sicherzustellen, dass du jedes Detail problemlos nachvollziehen kannst. Obwohl ich keine spezifischen Maße angeben werde – denn mein eigener Korb entstand durch viele Trial and Error – habe ich mit den 9 1/2 Zoll Blöcken gearbeitet, um das Projekt zu realisieren.
Also schnapp dir deine Nähmaschine und lass uns gemeinsam diese kreative Reise beginnen, um einen Classic Car Stoffkorb zu schaffen, der nicht nur praktisch ist, sondern auch jede Menge Charme versprüht!
Welcome back to my sewing page! Today, I want to introduce you to an exciting sewing project that is not only practical but also a lot of fun. Together, we’ll create an adorable fabric basket using just five squares. But that’s not all – we’ll be using Classic Car blocks to give this basket a special touch, perfect for storing toy cars.
In this post, I’ll guide you step by step through the process, accompanied by numerous pictures to ensure you can easily follow along. Although I won’t provide specific measurements – as my own basket was the result of much trial and error – I used 9 1/2 inch blocks to complete the project.
So grab your sewing machine and let’s embark on this creative journey together to create a Classic Car fabric basket that’s not only practical but also full of charm!
Blöcke nähen / Sew the blocks
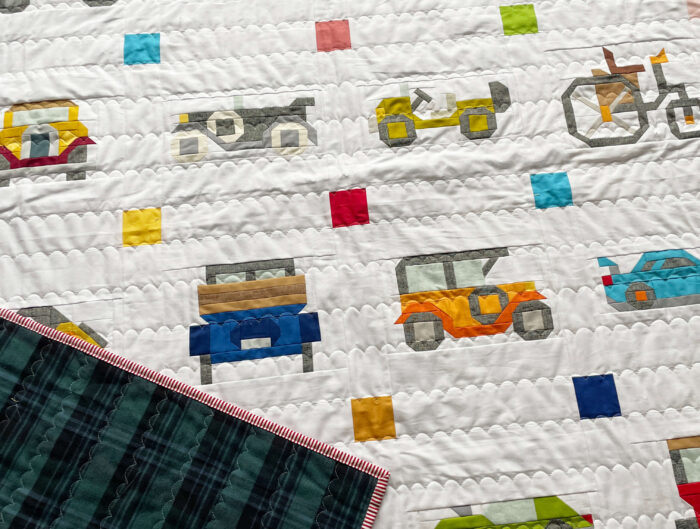
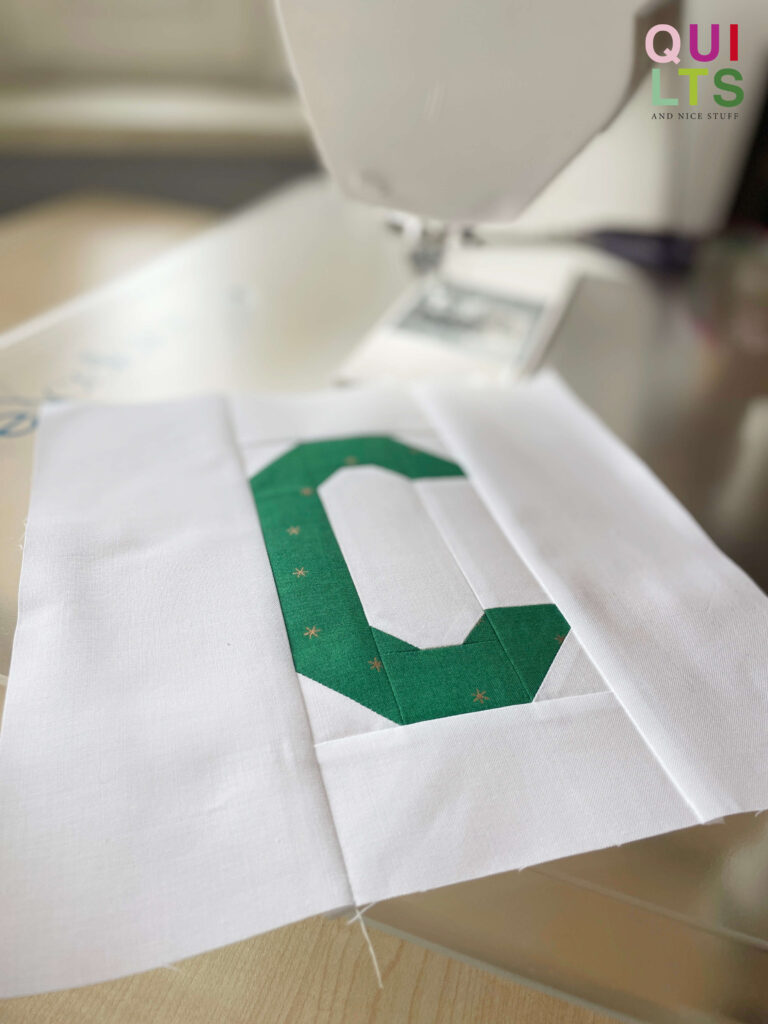
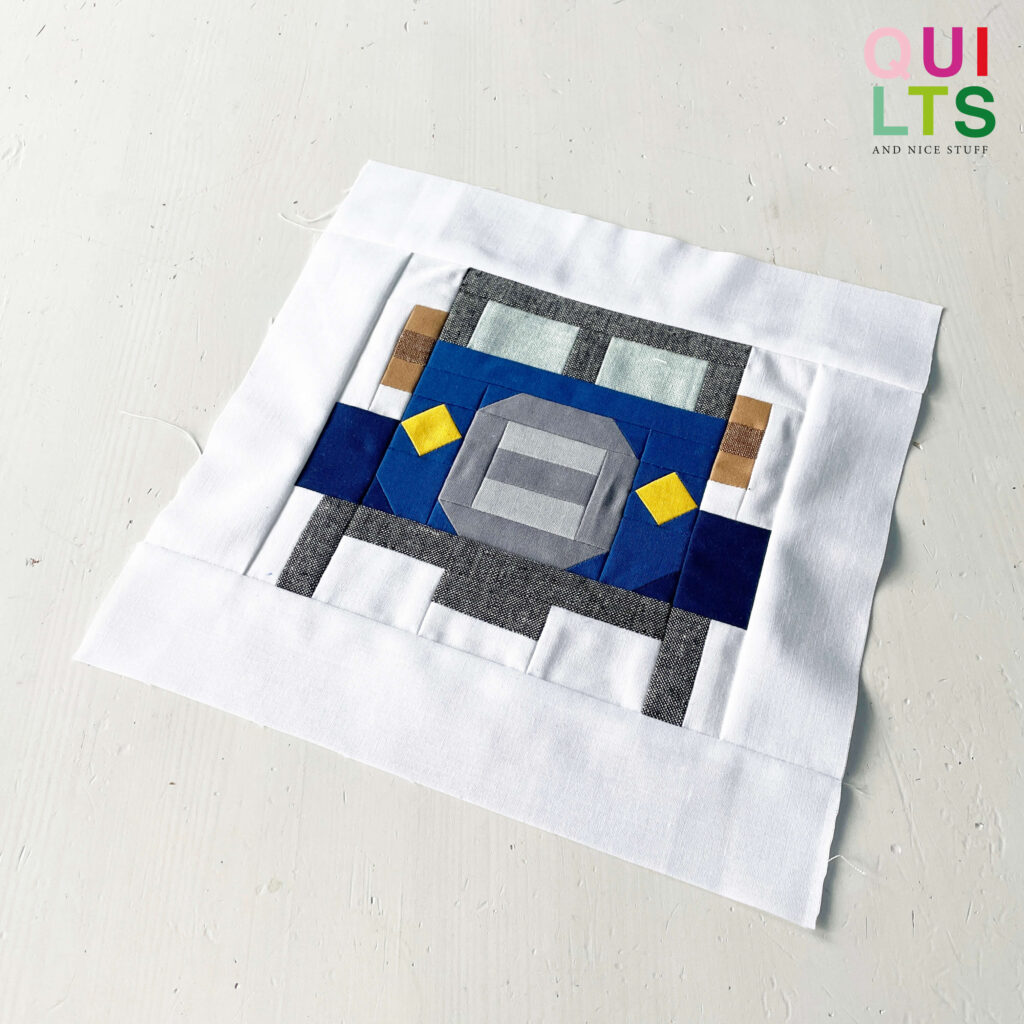
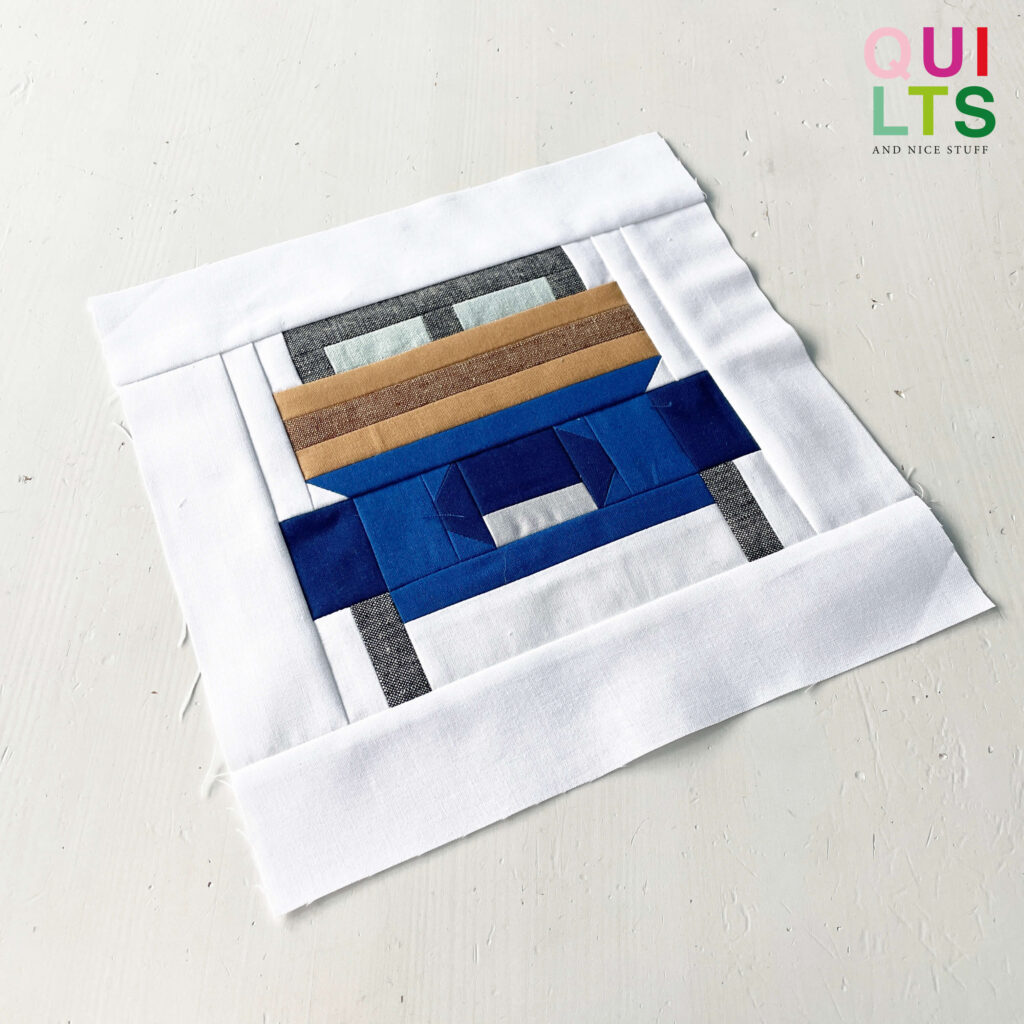
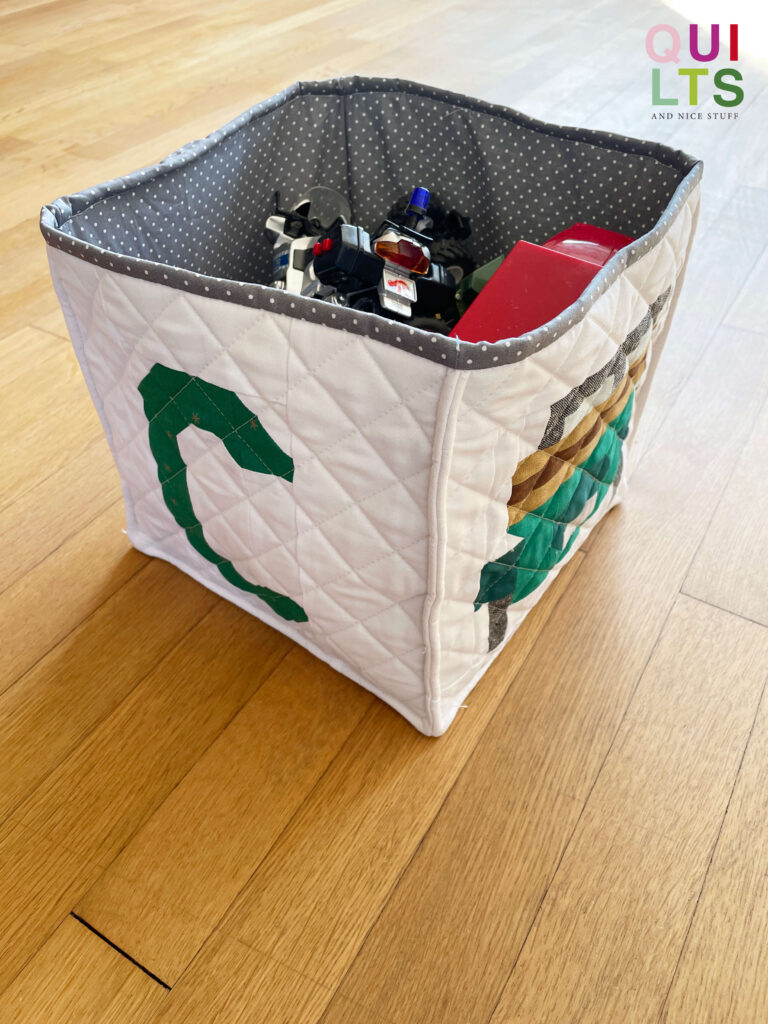
Nähe zunächst die einzelnen Blöcke gemäß den Anleitungen. Ich habe mich für ein C für Cars entschieden und drei Classic Car Blöcke mit dem Auto gewählt, das von vorne, hinten und seitlich erkennbar ist. Du kannst jedoch genauso gut vier verschiedene Fahrzeuge wie einen Bagger, Betonmischer, Traktor und Kipplaster wählen. Oder sogar Tierblöcke wie den Hund, den Hahn, das Schwein und die Kuh verwenden.
First, sew together the individual blocks according to the instructions. I’ve opted for a „C“ for Cars and chosen three Classic Car blocks with cars visible from the front, back, and sides. However, you can just as easily choose four different vehicles such as a excavator, concrete mixer, tractor, and tipper truck. Or even animal blocks like the dog, rooster, pig, and cow.

Neben den 4 Classic Car Blöcken benötigst du noch ein weiteres Quadrat in derselben Größe für den Boden des Korbs.
Alongside the 4 Classic Car blocks, you’ll also need another square of the same size for the bottom of the basket.

Für das Innenfutter schneidest Du Dir 5 Quadrate aus.
For the lining, cut out 5 squares.

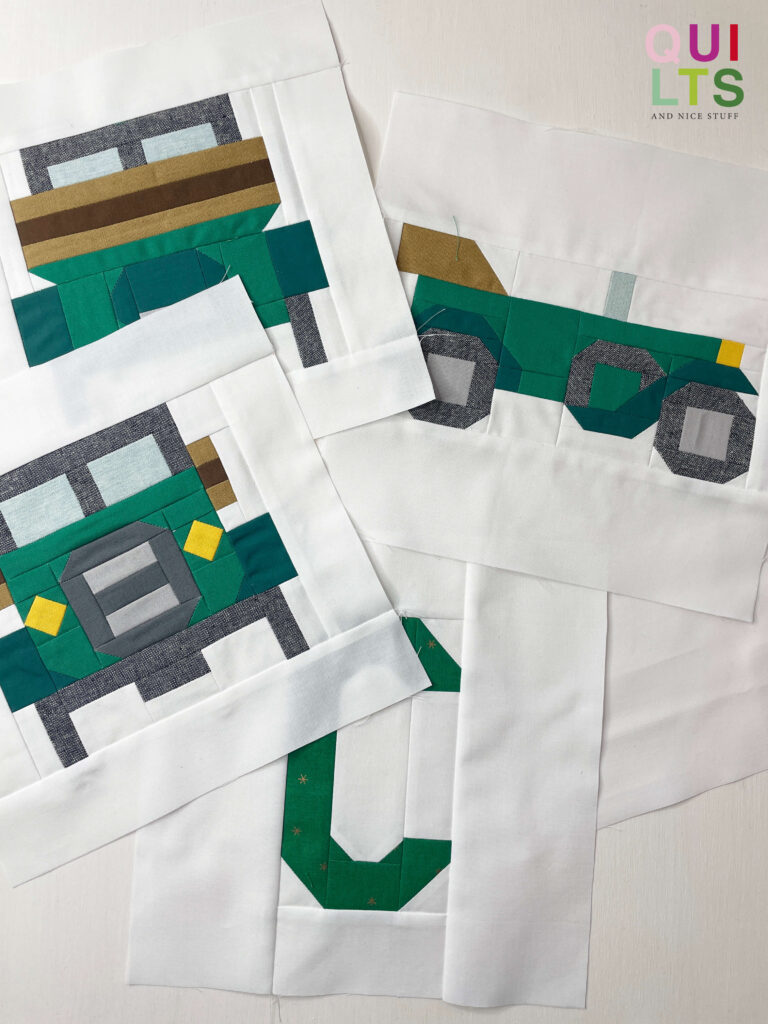
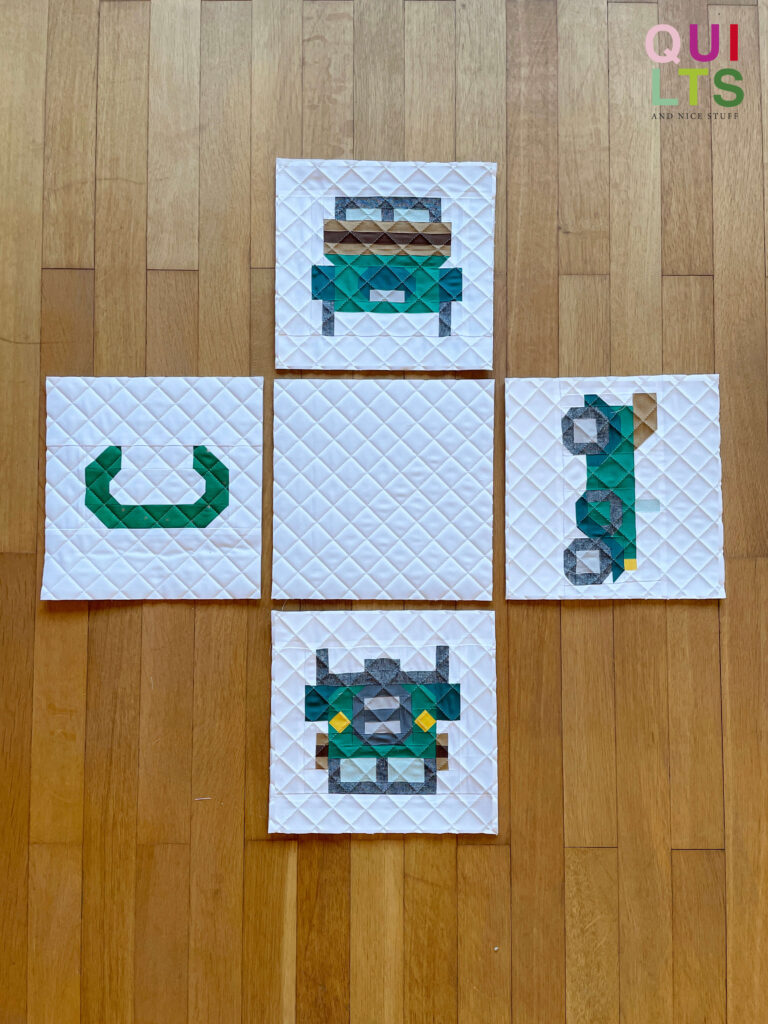
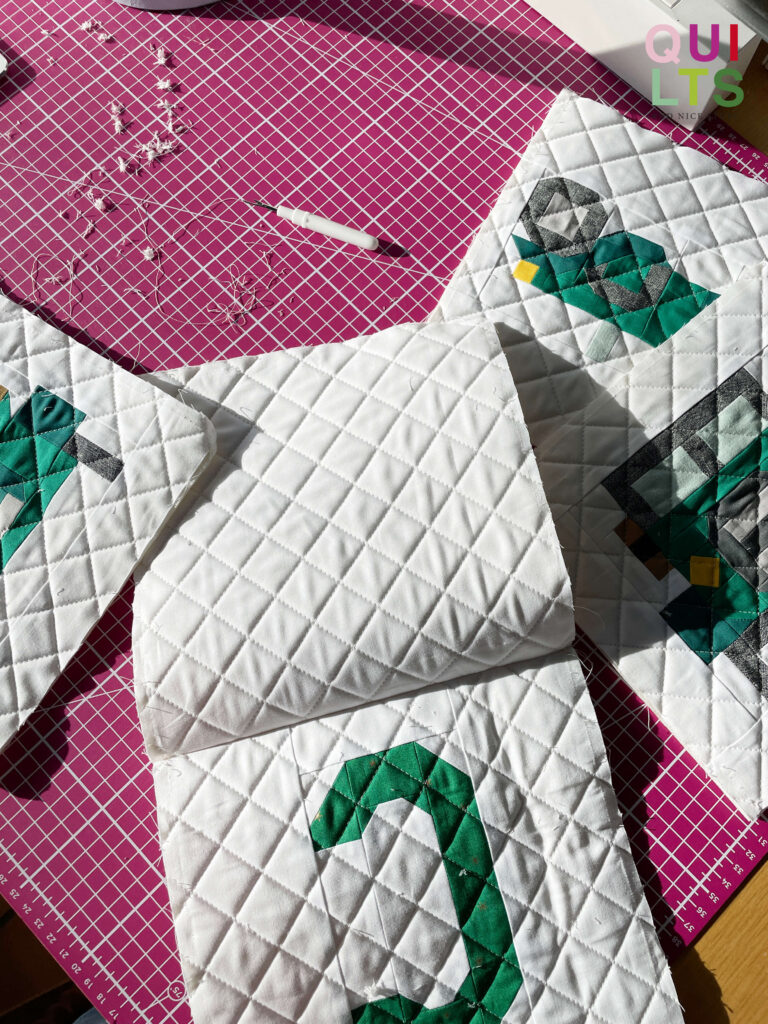
Die Blöcke sollen am Ende so zusammengenäht werden, dass jeweils die Unterseite jedes Blocks – insbesondere die Räder – an das weiße Quadrat angrenzt. Ich habe die Blöcke bereits ausgelegt, jedoch ohne das Batting, damit die Anordnung deutlicher erkennbar ist.
The blocks should be sewn together in a way that each block’s bottom, particularly the wheels, align with the white square. I’ve laid out the blocks already, but without the batting, to make the arrangement clearer.

Genauso sieht das beim Innenfutter aus, aber dazu gleich mehr.
The lining is sewn in the same way, but more on that later.
Die Blöcke quilten / Quilt the blocks

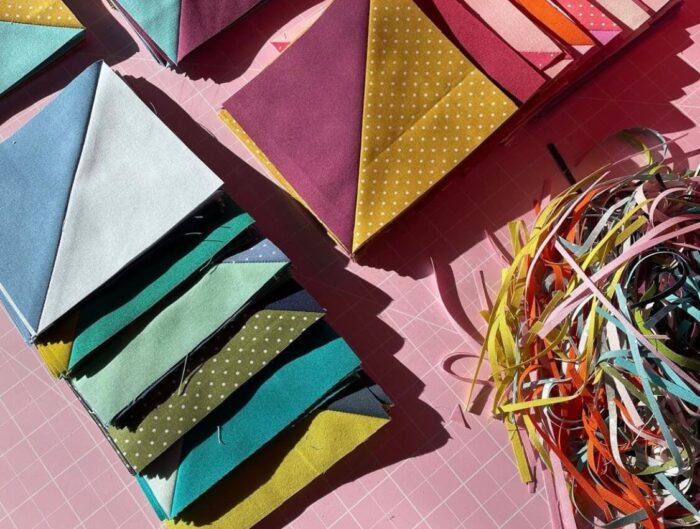
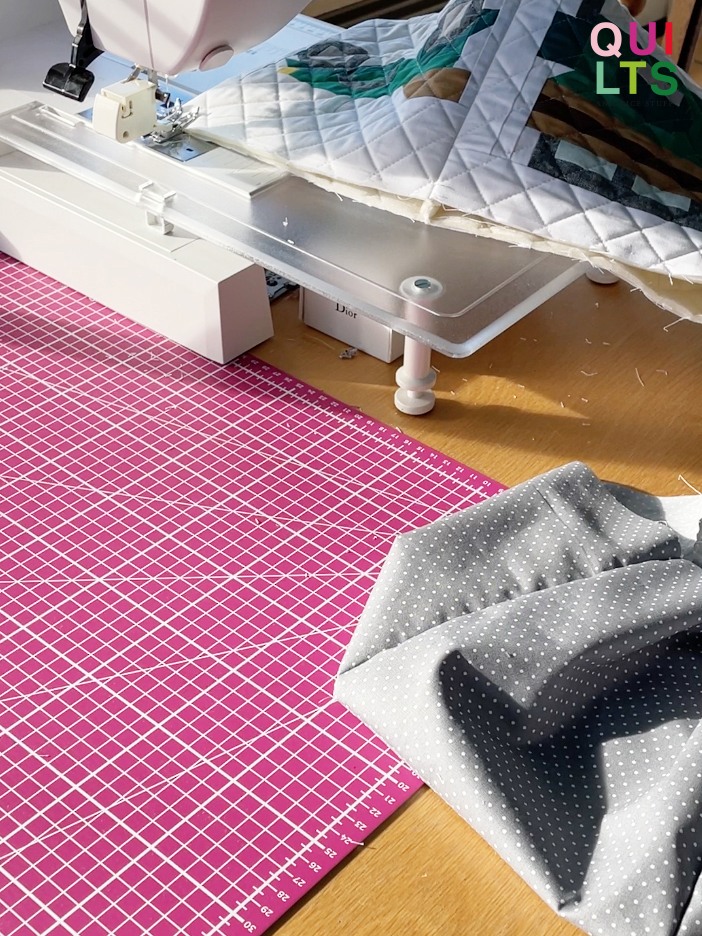
Bevor wir fortfahren, bereiten wir zunächst die einzelnen Blöcke für das Quilting vor. Dazu schneide ich etwas größere Stücke von Soft and Stable aus, um sicherzustellen, dass der Korb später einen stabilen Stand erhält.
Before we continue, let’s prepare the individual blocks for quilting. To do this, I cut slightly larger pieces of Soft and Stable to ensure that the basket will have a stable base.

Für das Quilting habe ich Linien im 45-Grad-Winkel mit einem Abstand von einem Inch aufgezeichnet.
For quilting, I’ve marked lines at a 45-degree angle with a distance of one inch between them.

Und nun beginnt das Quilten mit einer Stichlänge von 3 auf meiner Nähmaschine –
And now, quilting begins with a stitch length of 3 on my sewing machine –

immer entlang der zuvor gezeichneten Linien.
always following the previously marked lines.

Trimmen der Blöcke / Trim the blocks
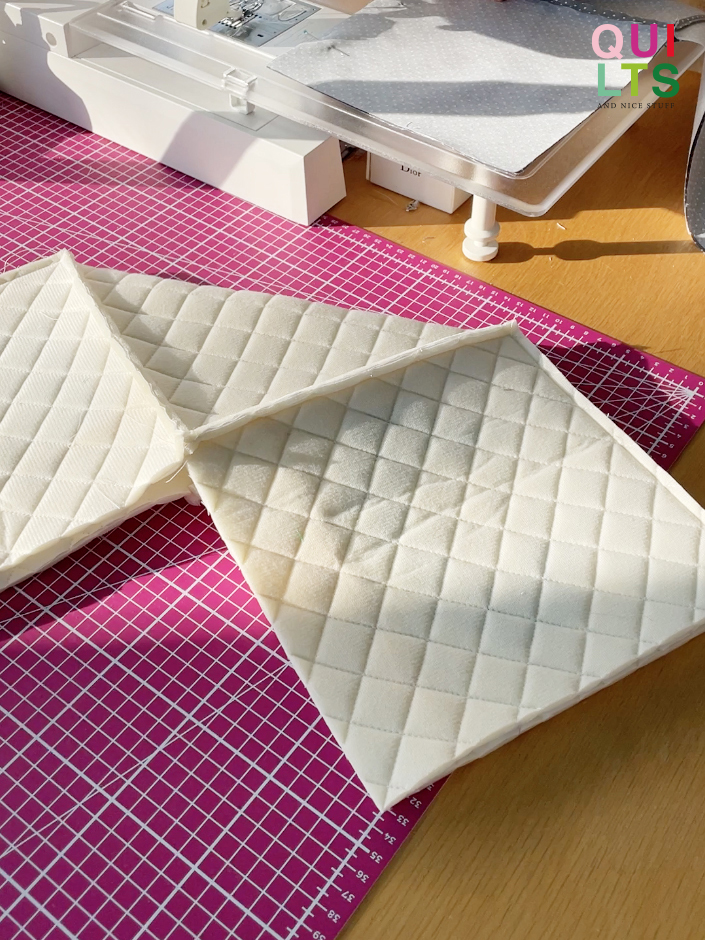
Sobald alle Blöcke fertig gequiltet sind…
Once all blocks are quilted…
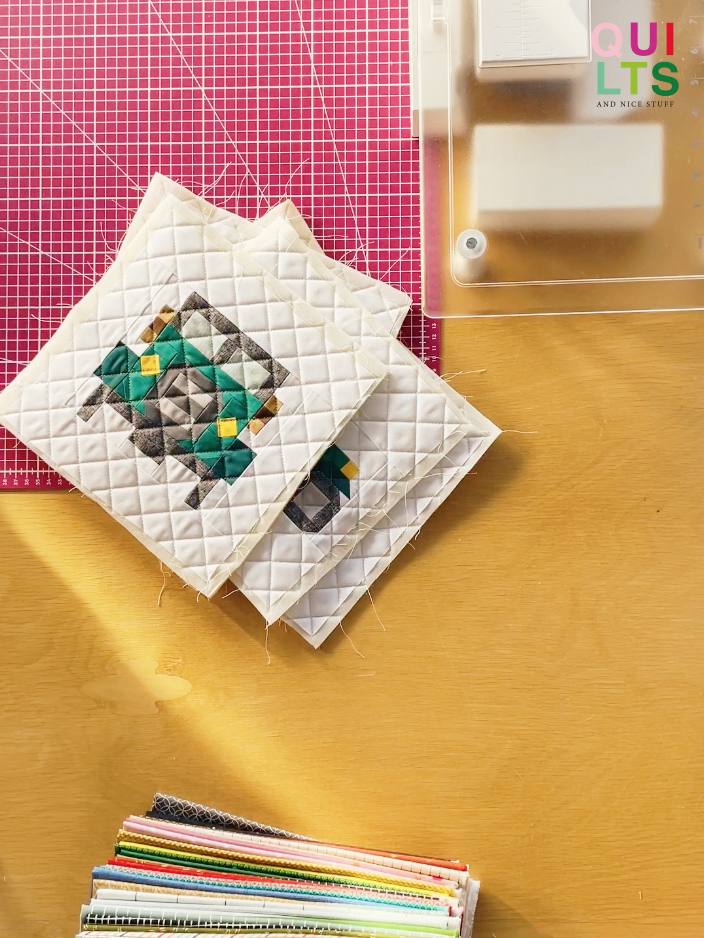
…werden sie noch einmal auf die richtige Größe getrimmt.
… they are trimmed to the correct size once again.

Den Stoffkorb nähen / Sew the fabric basket
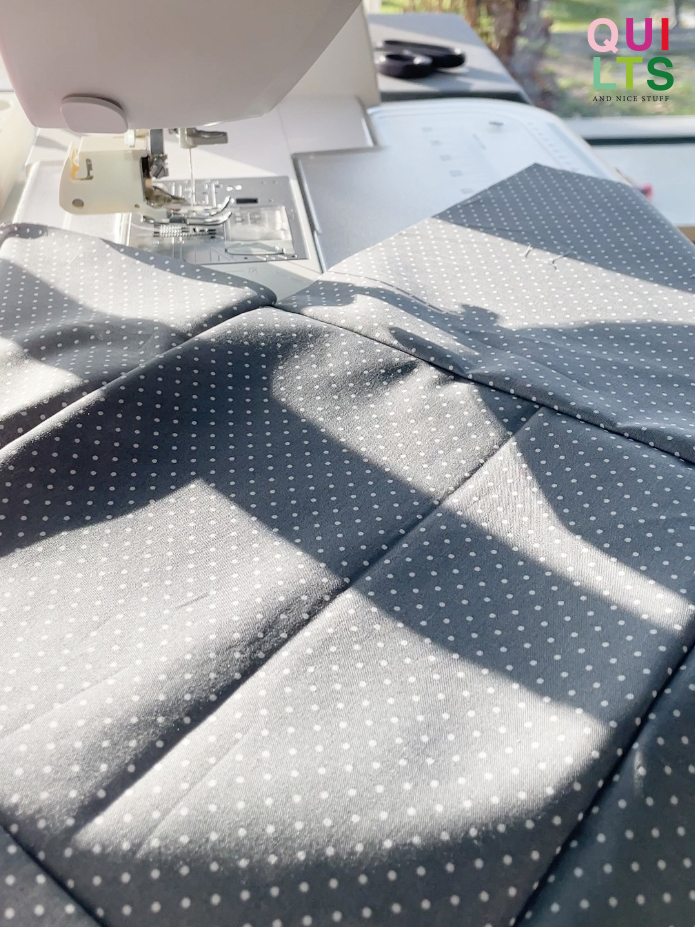
Hier ist ein Bild von den Blöcken, die richtig ausgerichtet sind, um sie zusammenzunähen. Ich habe jeweils 1/4 Inch vor der Ecke angehalten, um mit dem Nähen aufzuhören.
Here is a picture of the blocks properly aligned to sew them together. I stopped sewing 1/4 inch before each corner.
Auch das Futter wird auf dieselbe Weise zusammengenäht.
The lining is also sewn together in the same manner.
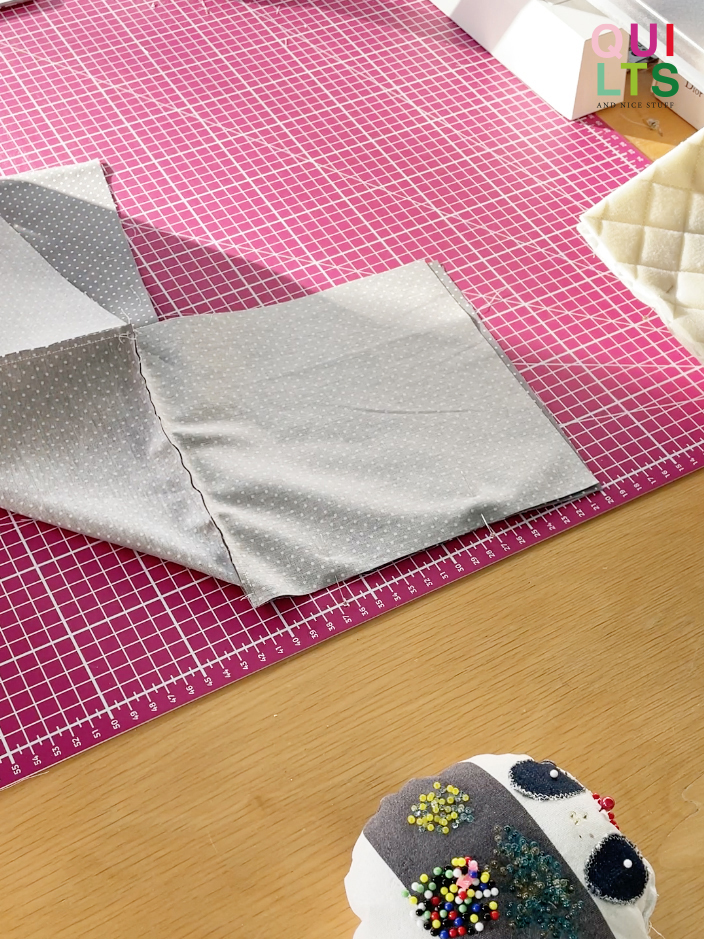
Im Nächsten Schritt knickst Du den Bodern samt der Außenteile diagonal zusammen und legst die Kanten der Blöcke rechts auf rechts zusammen. Jetzt werden erst diese beiden Kanten genäht, anschließend wiederholst du diesen Vorgang, indem du die Blöcke in die andere Richtung diagonal faltest und auch diese beiden Kanten zusammenfügst.
In the next step, you fold the bottom along with the outer parts diagonally and place the edges of the blocks right sides together. Now, sew these two edges first, then repeat the process by folding the blocks diagonally in the other direction and joining these two edges as well.
Das wird auch mit dem Innenfutter des Korbs genauso gemacht.
The same process is applied to the lining of the basket as well.
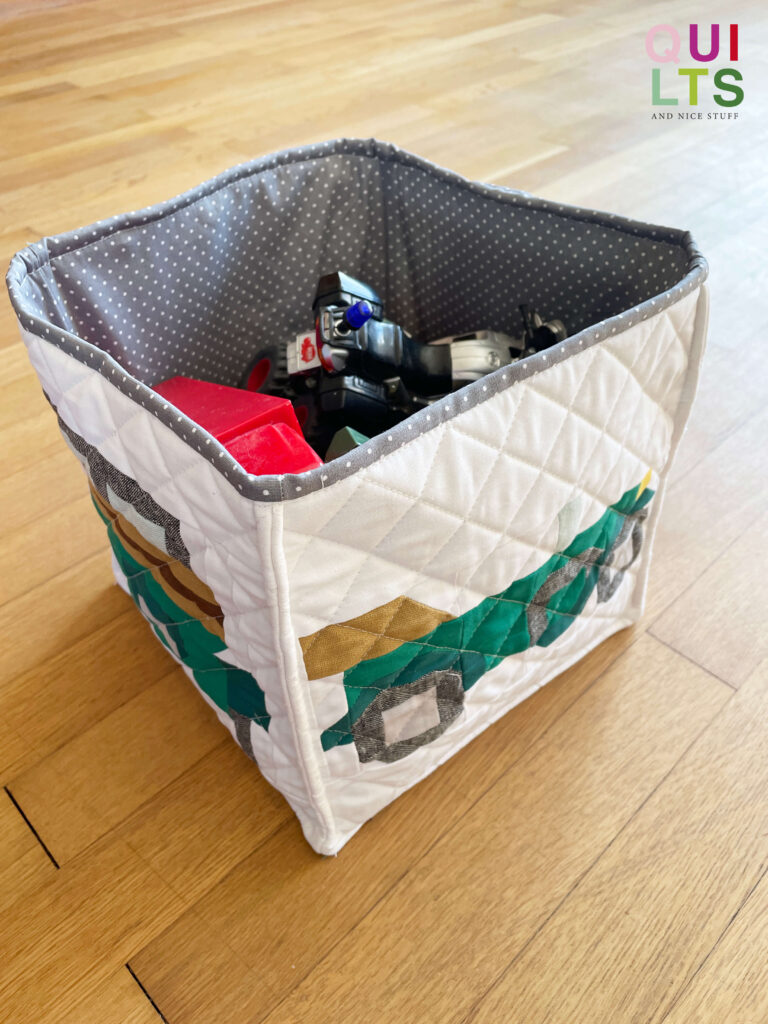
Und schon fast fertig ist der Classic Car Stoffkorb! Auf dem Bild habe ich ihn bereits umgedreht, damit du das Ergebnis sehen kannst.
And there you have it, the Classic Car fabric basket is almost finished! In the picture, I’ve already turned it inside out so you can see the result.

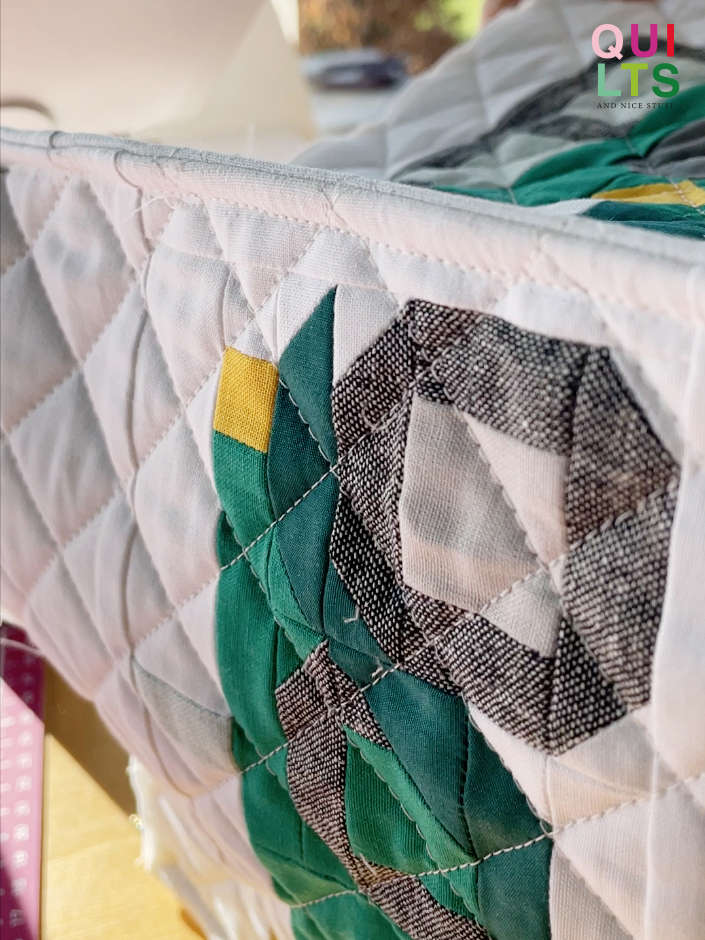
Für einen noch besseren Stand habe ich die Seiten- und Bodenkanten abgesteppt.
For an even better structure, I’ve topstitched the side and bottom edges.
Die Seiten- und Bodenkanten wurden mit einem Abstand zum Rand von etwa 1/4 Inch abgesteppt.
The side and bottom edges were topstitched with a distance of about 1/4 inch from the edge.
Innenfutter befestigen / Attach the lining
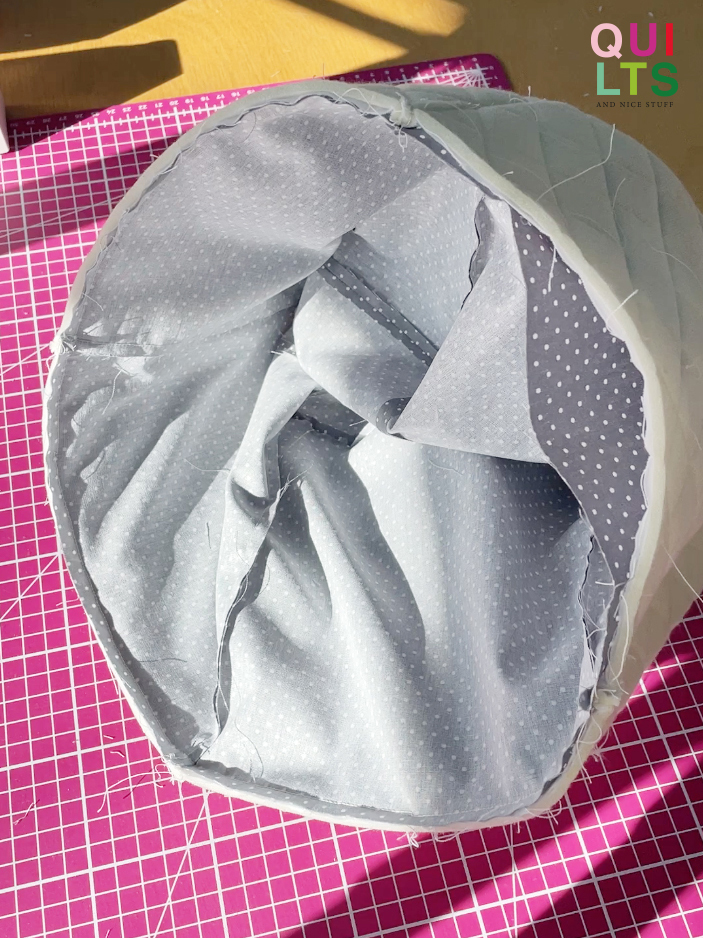
Um das Innenfutter im Korb zu befestigen, drehst du den Außenkorb noch einmal um, legst den Außenkorb und das Innenfutter rechts auf rechts zusammen und nähst einmal um den oberen Rand herum. Vergewissere dich, dass du eine Wendeöffnung offen lässt, die groß genug ist.
To attach the lining to the basket, flip the outer basket inside out once again, then place the outer basket and the lining right sides together, and sew around the top edge. Make sure to leave an opening for turning that is large enough.
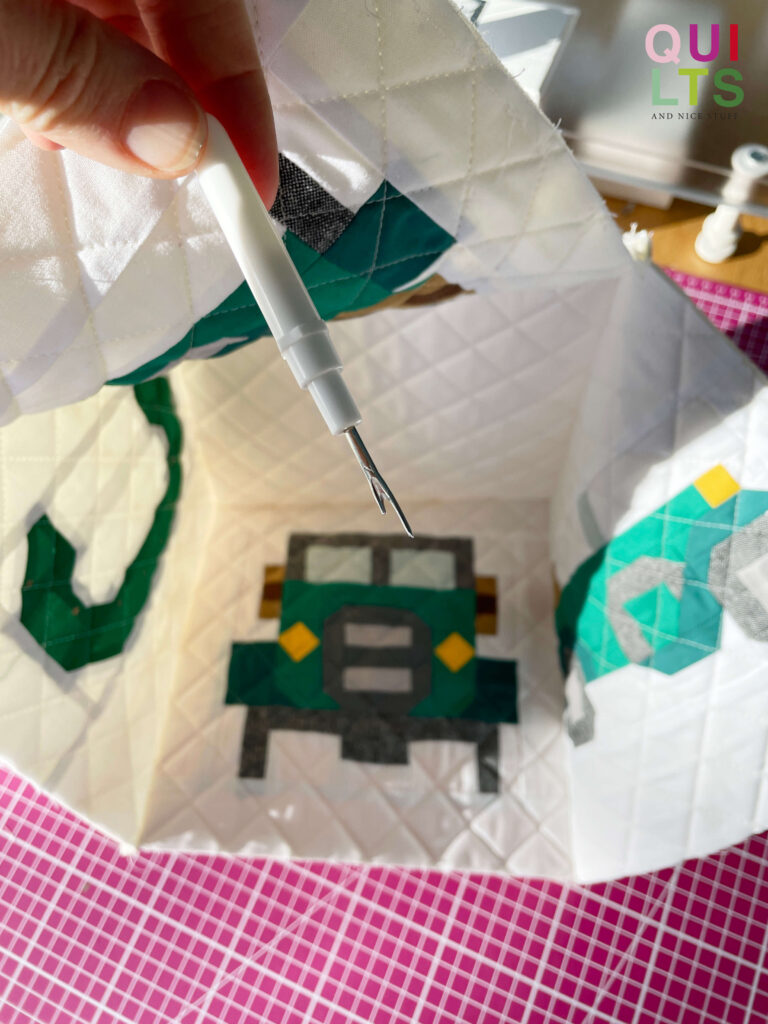
Nachdem du den Korb gewendet und die Ecken unten schön ausgeformt hast, kannst du den oberen Rand absteppen. Da ich keine sichtbare Naht auf dem „Binding“ außen haben wollte, habe ich die Wendeöffnung mit der Hand zugenäht.
After turning the basket right side out and shaping the bottom corners nicely, you can topstitch around the upper edge. Since I wanted to avoid having a visible seam on the outer binding, I hand-sewed the opening closed.
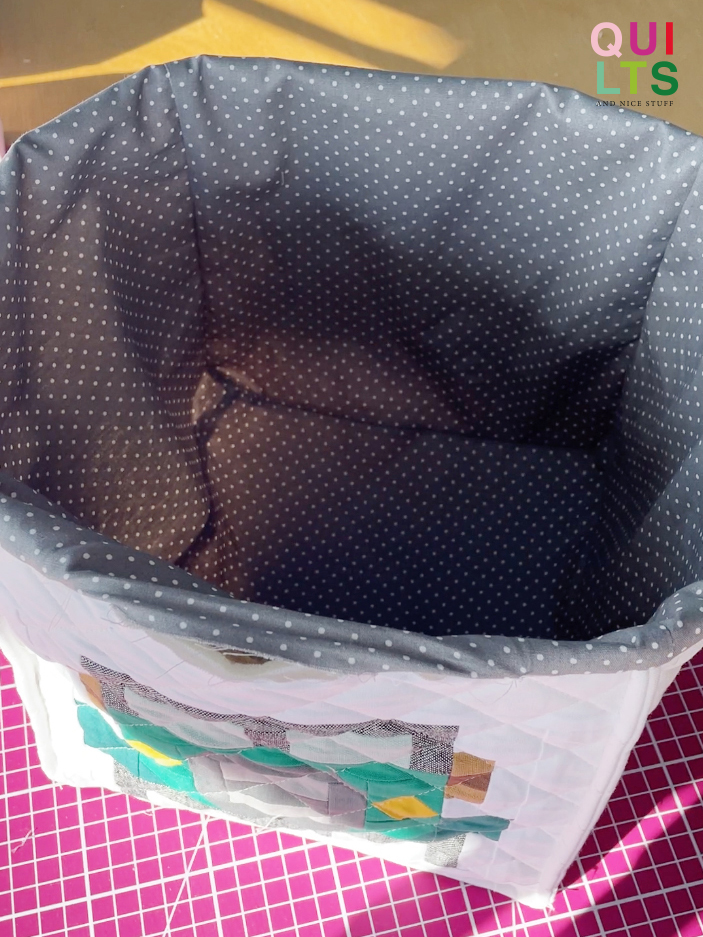
Du kannst das Innenfutter gleichzeitig als Binding verwenden und es knappkantig absteppen.
You can use the lining as binding at the same time and topstitch it closely along the edge.


Hier ist die innenliegende Naht zu sehen.
Here’s the seam on the inside.

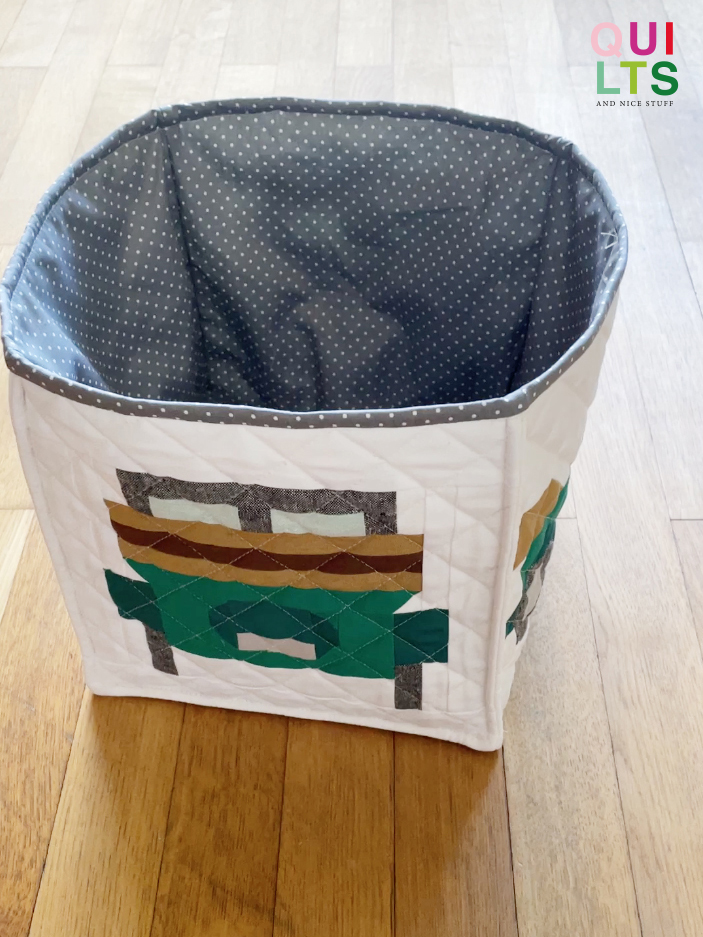
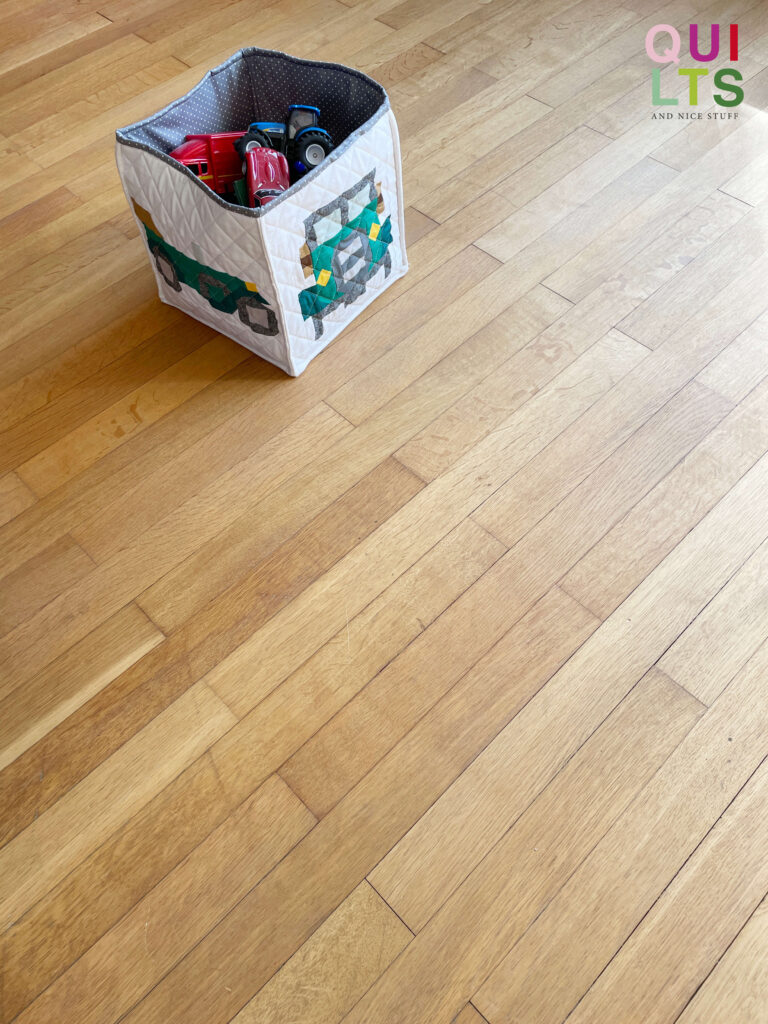
Fertiger Classic Car Stoffkorb / Finished Classic Car fabric basket
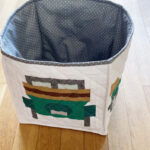
Und fertig ist der Classic Car Stoffkorb!
And there you have it, the Classic Car fabric basket is complete!
Und wer zieht bei dir alles ein?
„Who all moves in with you?“

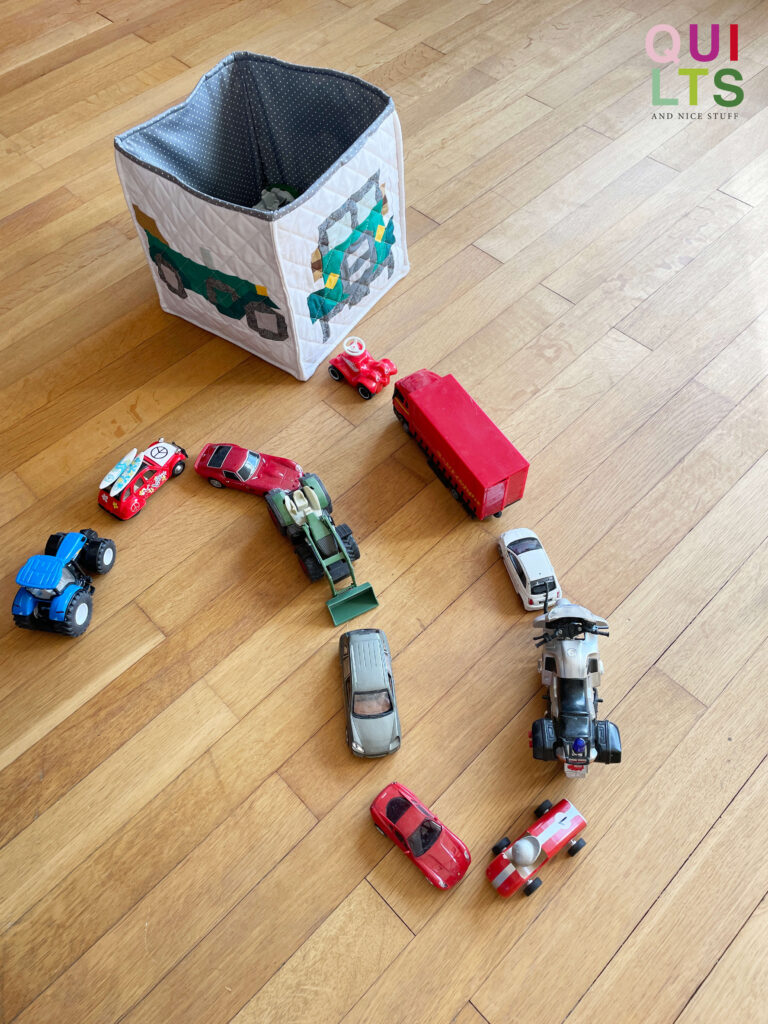
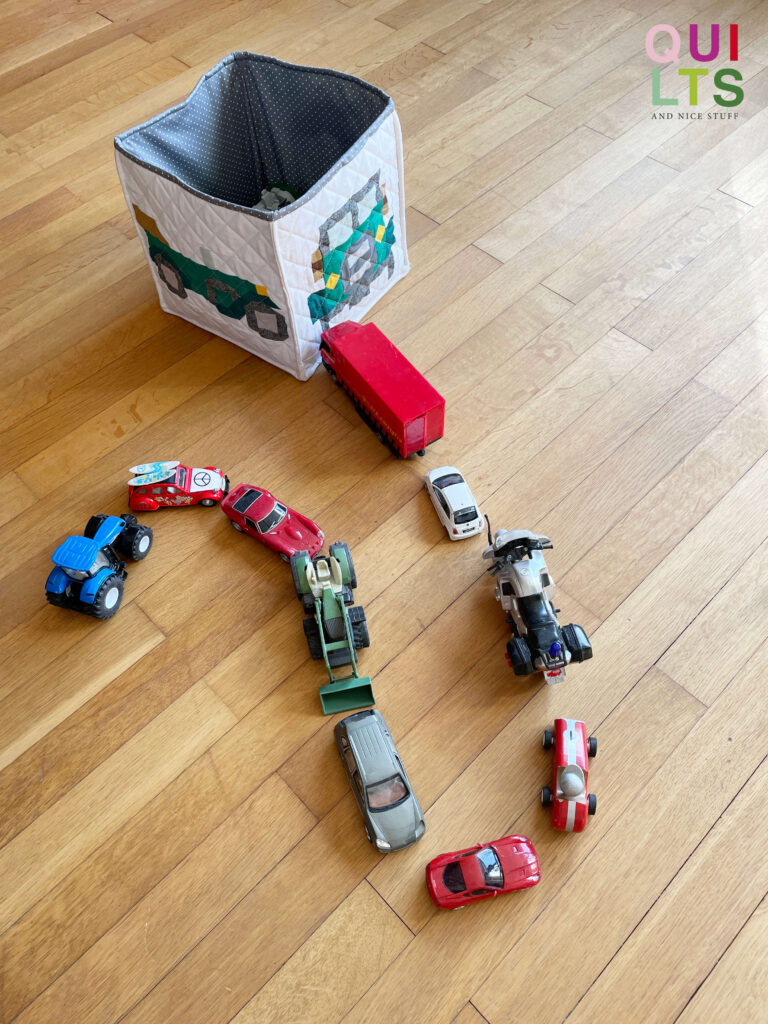

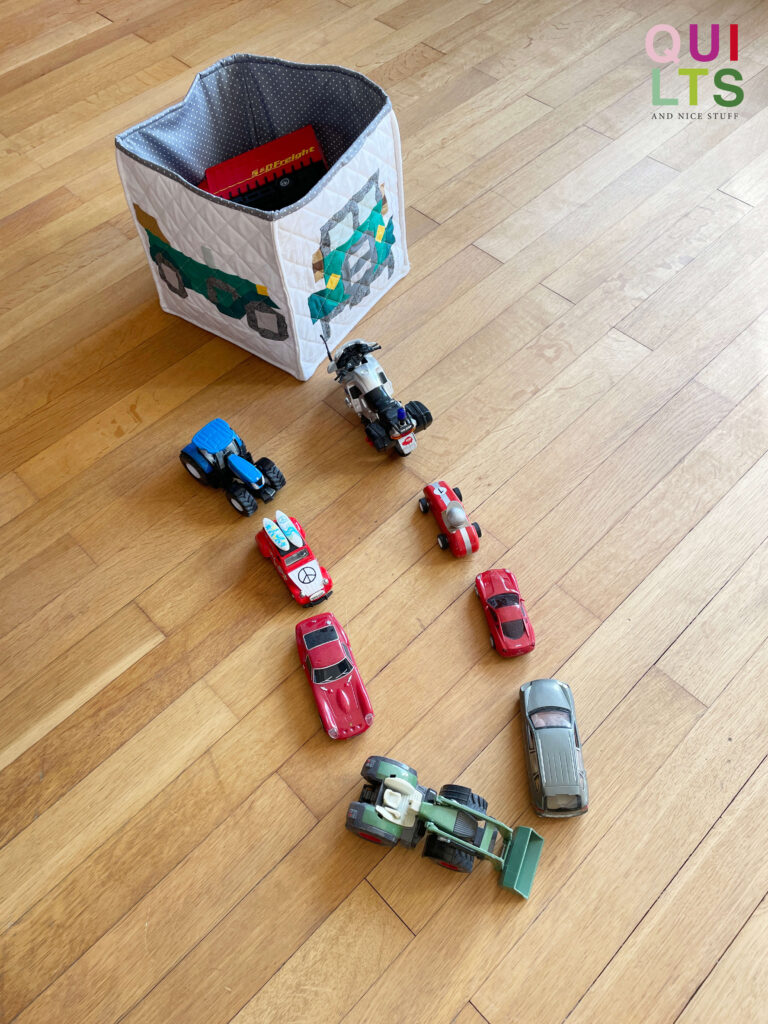
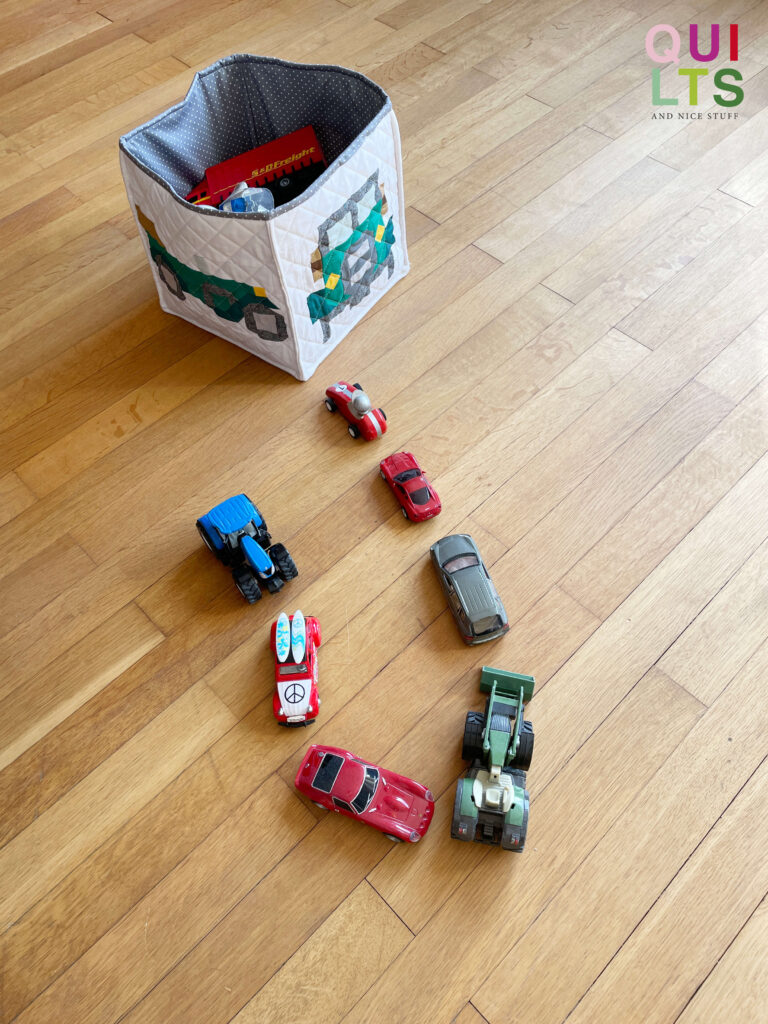

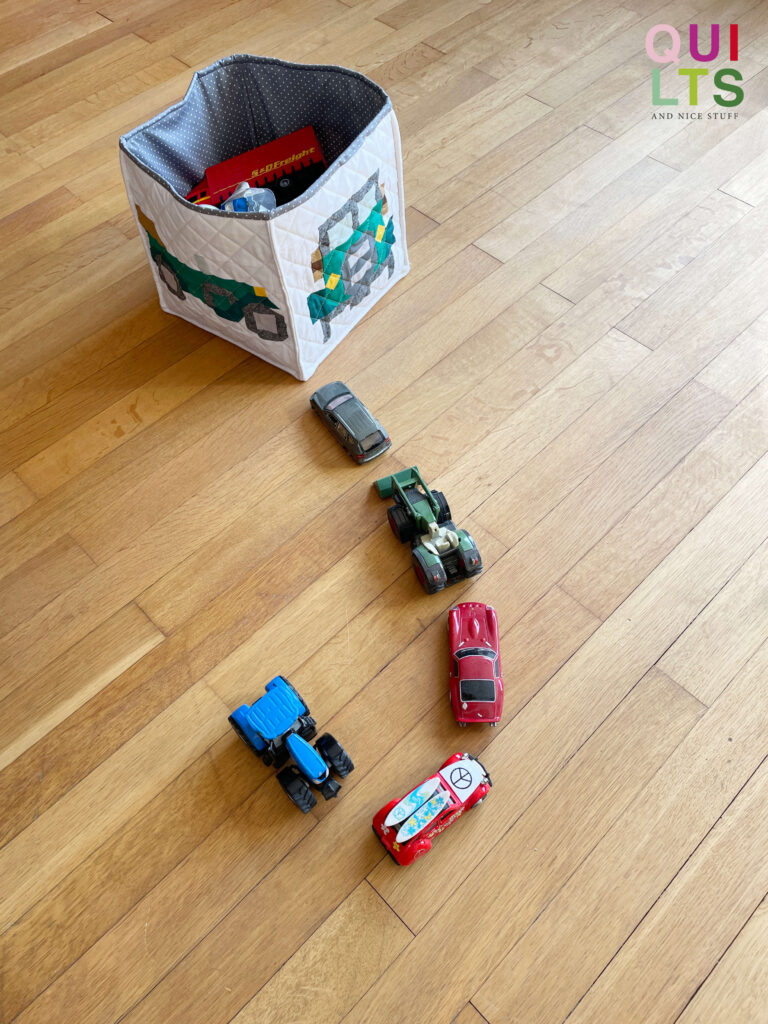


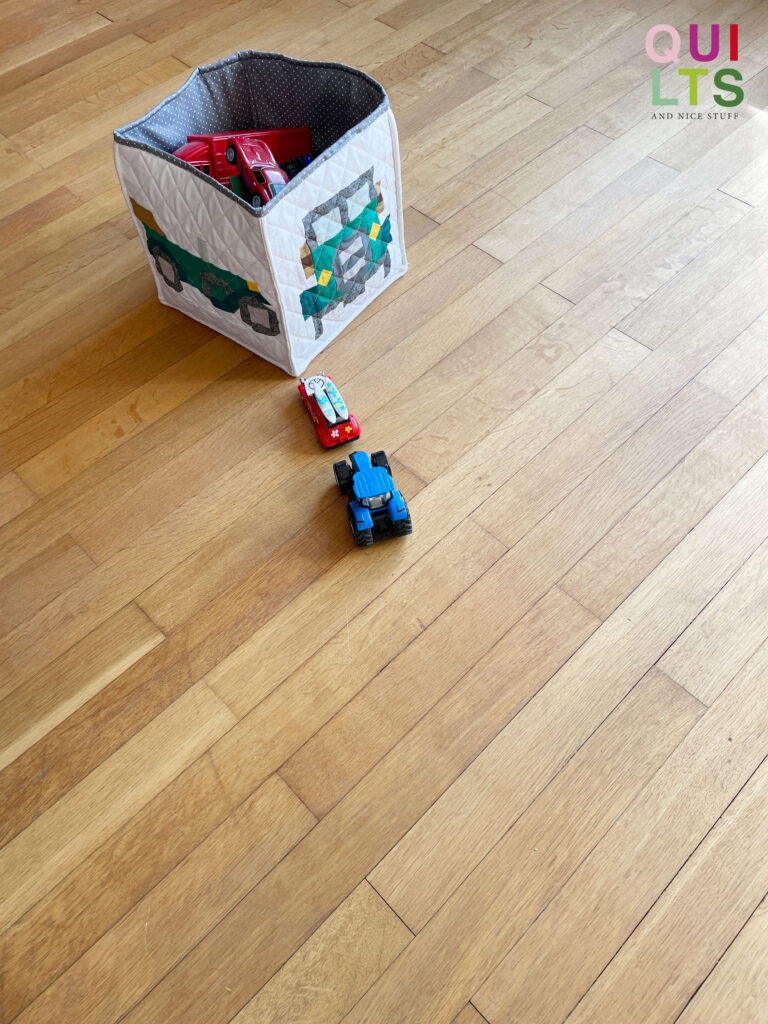
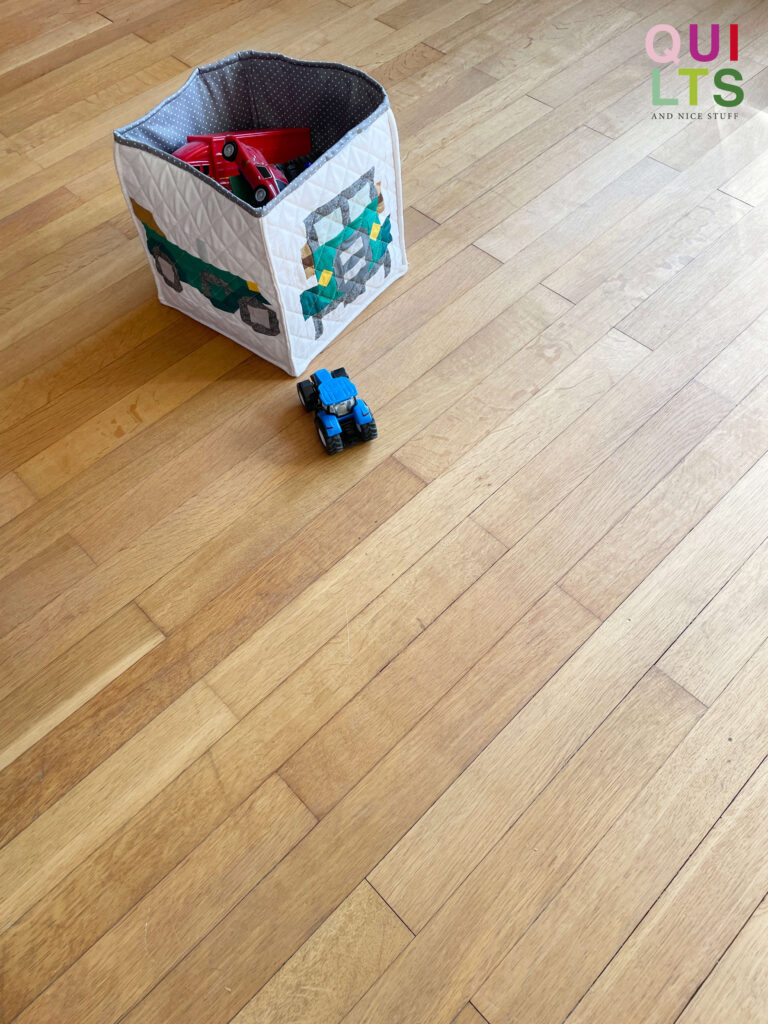
Bei mir sind es vorerst sind es viele Autos, aber ich habe bereits weitere Körbe in Planung – für noch mehr Autos, Tiere oder auch für Nähsachen und Stoffe.
For now, it’s mostly cars with me, but I already have more baskets planned – for even more cars, animals, or even sewing supplies and fabrics.


Und wenn du bis hierhin gekommen bist, zeige ich dir gerne etwas mehr Realität… Beim ersten Zusammennähen meiner Blöcke habe ich alle versehentlich falsch herum, also kopfüber, angenäht. Dies bemerkte ich jedoch erst, als ich den Korb an den Kanten diagonal zusammennähte und wendete. Das bedeutete natürlich, dass ich alle Nähte wieder auftrennen und neu zusammennähen musste. Man lernt also nie aus – immer besser zweimal prüfen, bevor man mit dem Nähen beginnt 🙂
And if you’ve made it this far, I’d like to show you a bit more reality… When I first sewed my blocks together, I accidentally sewed them all upside down. However, I only noticed this when I sewed and turned the basket diagonally at the edges. This naturally meant that I had to unpick and sew all the seams again. So, you never stop learning – it’s always better to double-check before you start sewing 🙂

You might also like